Prepare for Installation
How to install smart light switch? Before you dive into the task of installing a smart light switch, proper preparation is crucial. It ensures a safe, efficient process and helps prevent common pitfalls.
Verify Compatibility
First up, checking compatibility is key. Not all smart light switches work with every lighting setup or electrical system. Check the product details of the smart switch against your home’s specifications. Make sure it’s compatible with your current wiring, bulbs, and voltage. If the switch requires a neutral wire, verify that your switch box includes one.
Gather Required Tools
Next, arm yourself with the right tools. You’ll typically need a screwdriver, wire strippers, and a voltage tester. A flashlight can also be helpful. Having everything within reach ensures a smooth installation process. Don’t forget to read the installation manual for any additional tools the manufacturer recommends.
Turn Off Power at the Circuit Breaker
Safety first! Before you handle any wires, turn off the power at the circuit breaker. This is a non-negotiable step in how to install a smart light switch. Use the voltage tester to confirm no current is flowing through the wiring. Then, you can proceed with confidence, minimizing the risk of electrical shock.

Remove the Existing Light Switch
Getting out the old switch is the first step to make way for your smart alternative. Take this process slowly and be meticulous to avoid any complications.
Detach Faceplate and Switch
Begin by removing the faceplate. It is often secured by screws, so use your screwdriver here. Carefully unscrew and set the plate aside. Now, you’ll see the existing switch. Unscrew it from the electrical box. Gently pull out the switch, exposing the wires connected at the back. Handle everything carefully to prevent wire damage.
Examine and Label Wiring
Once you have the switch out, take a look at the wiring. Identify the ‘live,’ ‘neutral,’ and ‘ground’ wires if applicable. Colors can vary, so consult a wiring guide if needed. Use pieces of tape to label each wire according to its function. This step will ensure you connect the wires correctly to your new smart light switch. Having them labeled clearly can save time and help avoid errors during the installation of your smart light switch.
Install the Smart Light Switch
After removing your old switch, it’s time to install the smart light switch. Precision and attention to the instructions are vital during this stage. Follow these steps carefully to ensure a successful installation.
Connect Wires to the Smart Switch
First, take the wires you previously labeled. Connect them to the corresponding terminals on the smart switch. Usually, you’ll find a ‘live’ wire, a ‘neutral’ wire, and sometimes a ‘ground’ wire. If unsure, always refer to the smart switch’s manual for guidance. Secure each wire firmly under the terminal screws. Double-check every connection to make sure they’re tight and correct.
Secure the Smart Switch in Place
Once the wires are connected, carefully push the smart switch back into the electrical box. Ensure that no wires are pinched or excessively bent. Align the switch so it sits flush and straight in the box. Screw it in place, but do not over-tighten as this might damage the switch.
Attach the Smart Switch Faceplate
Finally, snap or screw on the faceplate that came with the smart switch. It should fit neatly over the switch and sit evenly against the wall. With the faceplate on, your smart light switch installation looks clean and professional.

Set Up and Configure the Smart Switch
Now that you have installed the smart switch, it’s time to bring it to life. The setup process involves connecting the switch to your smart home system. This allows you to control your lighting remotely and enjoy all the benefits that come with your new gadget. Here’s how to do it.
Download the Mobile App
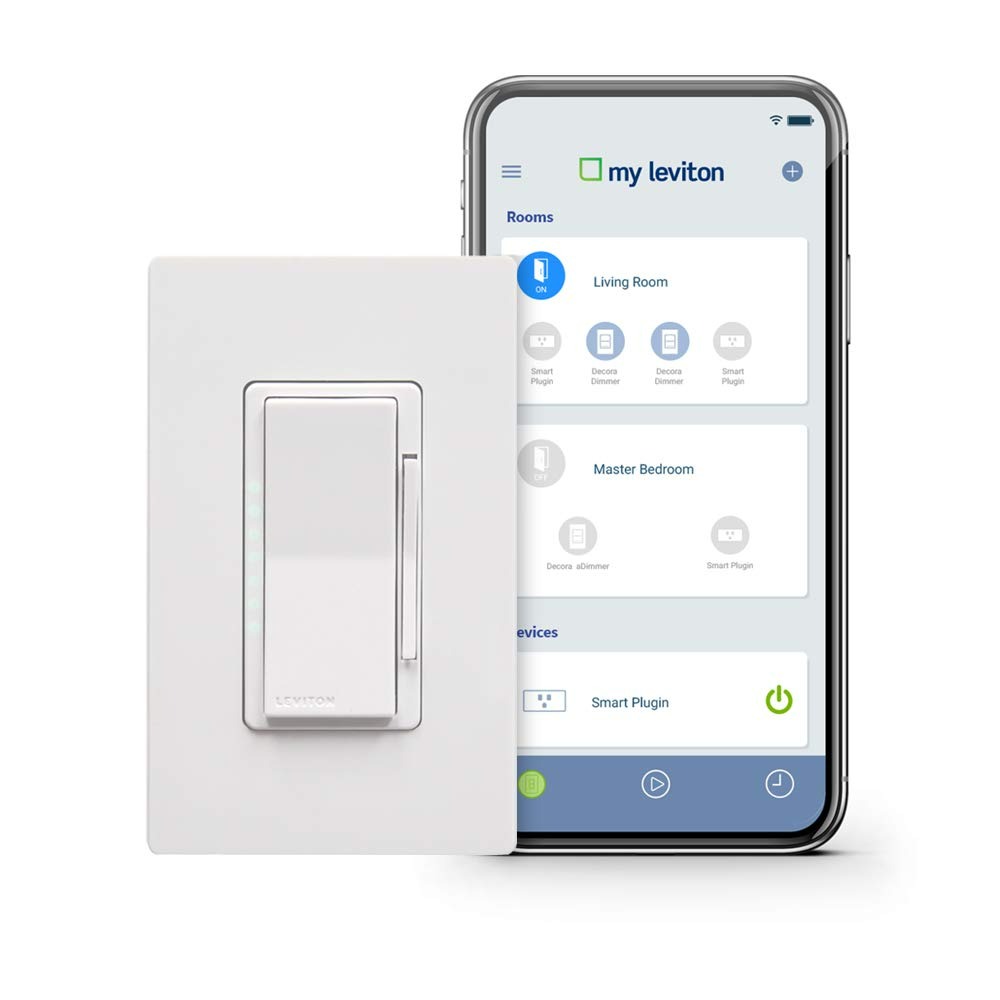
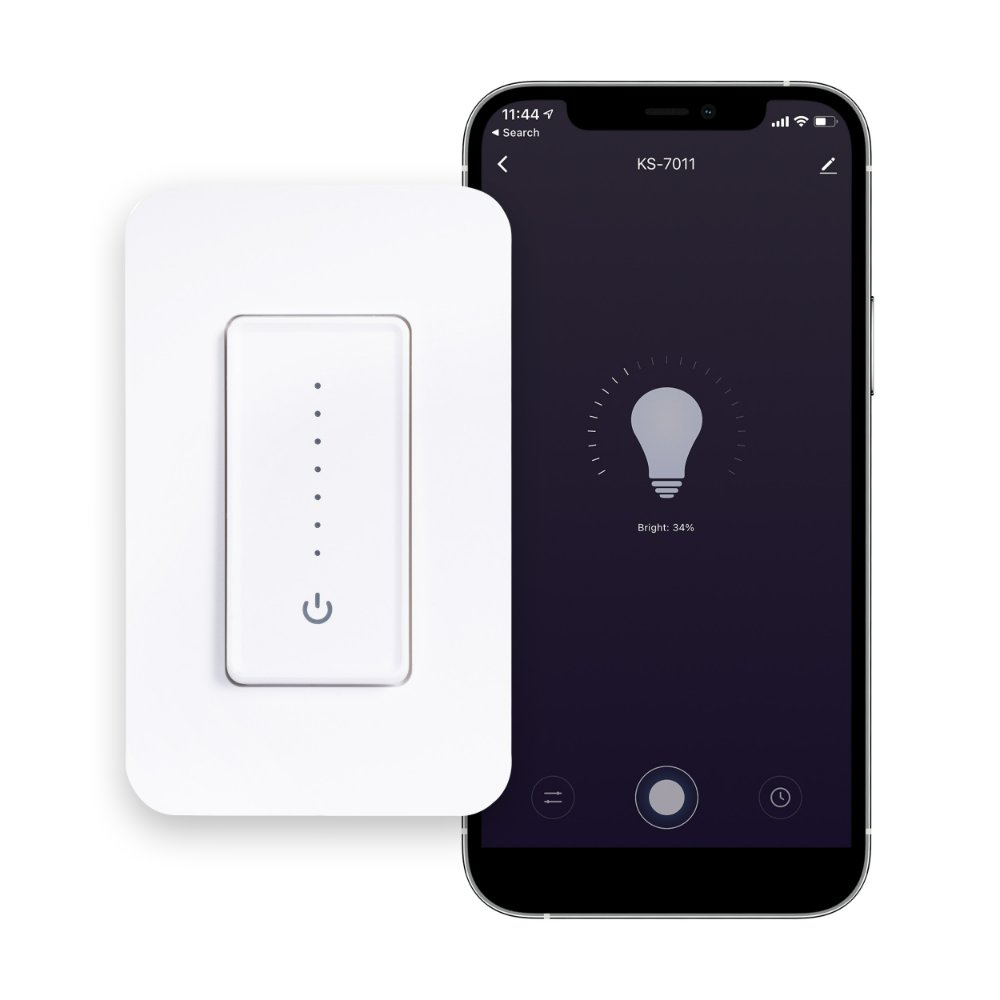
First, download the manufacturer’s mobile app. You can find it in the App Store or Google Play. This app will guide you through the configuration process. Make sure to have your smartphone or tablet nearby. With the app installed, you’re ready for the next steps.
Connect to Wi-Fi and Perform Setup
Open the app and create an account if needed. Follow the prompts to connect your smart switch to Wi-Fi. The app may ask you to input your network details. Once connected, name your switch and assign it to a room in the app. Test the switch functions through the app to ensure it responds correctly. Now, you can enjoy controlling your lighting from anywhere. Remember to update the app when prompted to keep your smart switch running smoothly.
Safety Precautions and Tips
When you’re learning how to install a smart light switch, safety is paramount. These tips will ensure a secure installation.
Double-check Wiring Connections
After connecting the wires, take a moment to double-check everything. Ensure each wire is firmly attached to the correct terminal. A loose or incorrect wire can cause issues, from switch malfunction to potential hazards. Tighten all screws and make certain your connections are solid before proceeding.
Test Before Full Installation
Before you tuck away your smart light switch and attach the faceplate, do a quick test. Restore power temporarily at the circuit breaker to check the switch’s functionality. If the switch doesn’t work as expected, turn off the power again to adjust the connections. It’s easier to solve wiring problems before the switch is fully installed.

Troubleshooting Common Issues
Even with careful installation, issues can arise with smart light switches. Identifying common problems helps for quick resolution.
Wi-Fi Connection Problems
Smart light switches rely on Wi-Fi for remote control. If you encounter connection issues, consider the following steps:
- Check Wi-Fi Signal: Ensure your router is on and the signal reaches the switch’s location.
- Restart Router: Sometimes, simply restarting your router can solve connection hiccups.
- Update Password: Did you recently change your Wi-Fi password? Update it in the smart switch app too.
- Re-pair Device: Remove the switch from the app and re-add it, ensuring a fresh connection.
If these steps don’t work, consult the manufacturer’s support for specific troubleshooting related to how to install a smart light switch.
Calibration with Existing Lighting
Compatibility between smart switch features and existing light bulbs is essential. If lights flicker or don’t respond, try these tips:
- Check Bulb Type: Ensure bulbs are compatible with the smart switch. LED and incandescent bulbs can behave differently.
- Adjust Settings: Use the mobile app to adjust dimming settings or thresholds specific to your bulbs.
- Check Wiring: Loose connections can affect calibration. Turn off power and double-check the wire installation.
Consult the manual or support if issues persist, as calibration procedures vary with different models.
Smart Light Switch Features and Benefits
Installing a smart light switch brings numerous advantages to your home.
Remote Access and Control
Smart light switches allow you to control your home lighting from anywhere. With just a smartphone or tablet, you can turn lights on or off, even when you’re not home. This feature is great for making it appear like someone is always there, boosting security. It’s also convenient; say goodbye to climbing out of bed to switch off the lights!
Energy Saving and Efficiency
These switches contribute to a more energy-efficient home. They work with schedules and timers, so lights only stay on when needed. This cuts down on wasted energy from lights left on accidentally. Some models even offer features like vacation modes, further reducing power usage while you’re away. With smart light switches, you can enjoy lower energy bills and a smaller carbon footprint.
Next Steps After Installation
With your smart light switch installed and configured, it’s time to look forward.
Integration with Home Automation Systems
Now, integrate your smart light switch into your home automation system. Home automation systems bring devices together, allowing them to work in harmony. Here’s how:
- Select a Compatible System: Check that your smart switch works with popular systems like Google Home or Amazon Alexa.
- Follow Integration Instructions: Use the app to add your switch to the system. Follow the setup guide for help.
- Set up Voice Control: Configure voice commands for hands-free operation. Turn lights on or off with simple voice commands.
Integration enhances convenience and takes your home’s tech to the next level.
Exploring Advanced Features and Uses
Smart switches offer more than just on and off functions. Find out what else your switch can do:
- Set Schedules: Program your lights to turn on or off at set times, perfect for routine activities.
- Create Scenes: Set up lighting scenes for occasions like dinner or movie nights.
- Monitor Energy Usage: Keep an eye on your energy consumption using the app’s tracking features.
By using these advanced features, you can make your home not just smarter, but also more efficient and tailored to your lifestyle.
