Introduction to 3-Way Light Switches
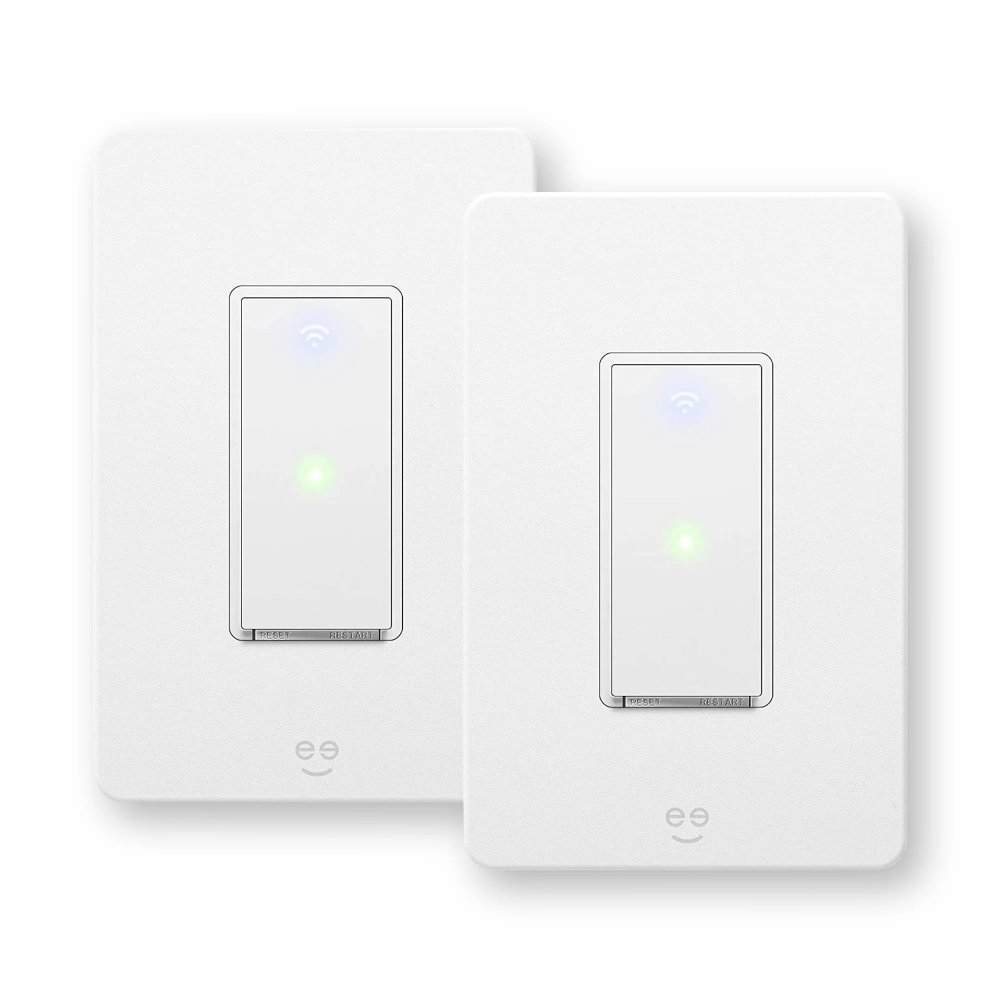
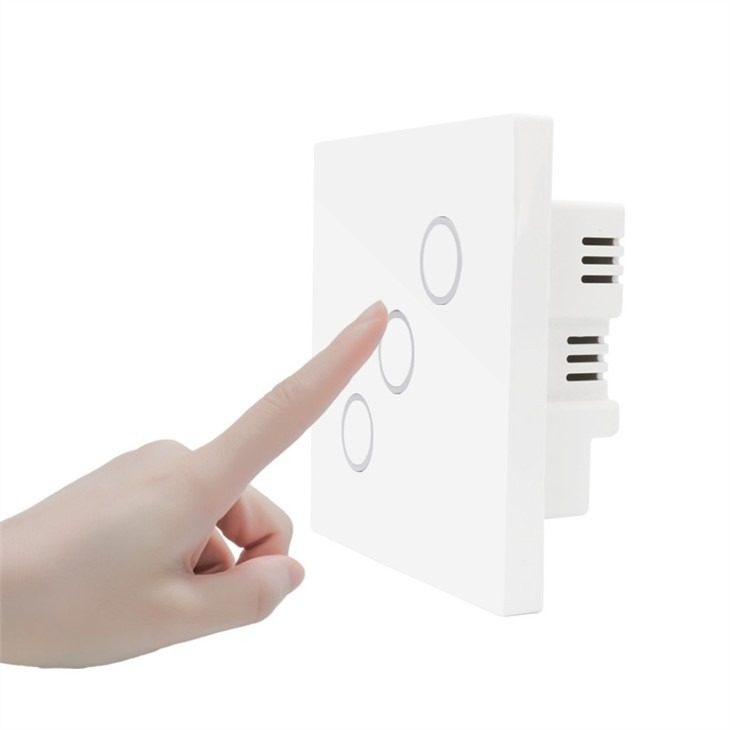
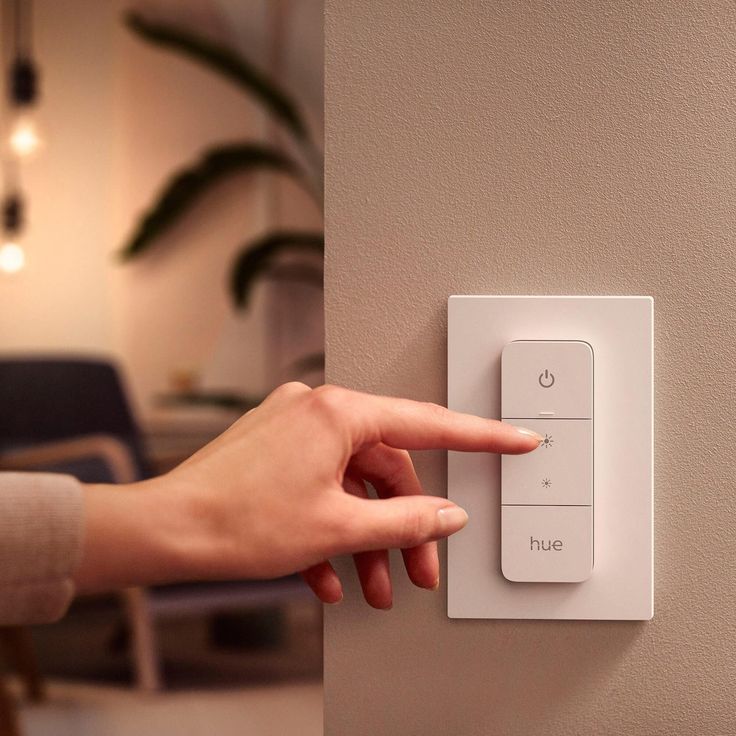
3-way light switches are unique. They control one light from two locations. You’ll find them at the ends of hallways, up and down staircases, or in large rooms with multiple entrances. Unlike standard switches, they don’t have the typical on/off markings. This is because the on/off function can change based on the position of the other switch. A smart 3 way light switch takes this convenience to a whole new level. It allows for remote control using a smartphone or voice commands. Compatibility with smart home systems adds to the convenience. They can even improve energy efficiency. With smart features, it’s easier than ever to set up schedules and integrate lighting with other smart home devices. Before upgrading to a smart 3-way light switch, check your current wiring setup. You should have three wires in addition to the ground. These are typically labeled as Line, Load, and Traveler wires. A proper understanding of these is crucial for a successful installation. With this in hand, you’ll be ready for the next steps in selecting the right smart switch for your home.

Selecting the Right Smart 3-Way Light Switch
When shopping for a smart 3-way light switch, several factors come into play. You must choose wisely to ensure compatibility, ease of use, and integration with your smart home ecosystem. Here are some key points to consider during your selection process:
- Compatibility with your wiring: As mentioned, check your existing wiring. Make sure the smart switch supports your setup, especially the traveler wire.
- Switch design: Look for a design that fits your home decor. Also, ensure the switch plate size matches your existing ones.
- Features: Decide which features are important to you. Possibilities include remote control, voice control, and scheduling.
- Integration: The switch should work well with other smart home devices. Check for compatibility with systems like Amazon Alexa or Google Home.
- Brand reliability: Choose trusted brands with positive reviews. They should offer good customer support and a solid warranty.
- Price: Smart switches come in a range of prices. Consider the value for the features and reliability you get.
Make a list of your requirements and compare it against the specifications of available switches. The right smart 3-way light switch will make controlling your home lighting both simple and sophisticated. Remember to look for switches that offer both essential functions and advanced features. This way, you’ll enjoy the benefits of a smart home without unnecessary complications.
Tools and Materials Needed for Installation
Before you begin the installation of your smart 3-way light switch, gather the right tools and materials. Proper preparation ensures a smooth installation process. These are the essentials:
- Screwdriver: You’ll need both flat-head and Philips-head screwdrivers.
- Wire stripper/cutter: This tool strips insulation from wires and cuts them to length.
- Voltage tester: Safety first! Use this to verify power is off before working on wires.
- Wire nuts: These secure wire connections after you join them together.
- Smart 3-way light switch kit: Includes the switch itself, often with a faceplate.
- User manual: Refers to the instructions specific to your switch model.
- Smartphone or tablet: Needed for configuring the switch with your home network post-installation.
Make sure to turn off the circuit breaker before starting. This prevents electric shock. Double-check your existing wiring. Confirm you have the necessary wire configuration. This includes the line, load, and traveler wires along with a ground wire. Have all your tools and materials within reach. Now, you’re ready to proceed with the installation of your smart 3-way light switch.

Step-by-Step Installation Process
Following the right procedure is key to a successful installation of your smart 3-way light switch. The process may vary slightly depending on the specific model, but generally, the steps you need to follow are as follows:
- Turn off Power: Safety first. Cut power at the circuit breaker to avoid electric shock.
- Remove Old Switches: Gently remove the faceplates and unscrew the old switches from the wall box.
- Check Wires: Confirm that you have a line, load, and traveler wires, as well as a ground wire.
- Install Smart Switch: Connect the corresponding wires from the wall to the new switch. Secure them with wire nuts.
- Secure the Switch: After wiring, place the smart switch back into the wall box and screw it in place.
- Attach Faceplate: Snap the faceplate onto the smart switch according to instructions.
- Restore Power: Turn the circuit breaker back on to test the switch.
- Test the Switch: Make sure the switch operates from both locations and responds to command.
These steps are straightforward but require caution and a fair understanding of wiring. Always follow the user manual that comes with your smart switch kit. If you encounter difficulties or are unsure, consider hiring a professional electrician. Remember, your safety is paramount.
Configuring the Smart Switch with Your Home Network
Once you have installed your smart 3-way light switch, the next critical step is configuring it with your home network. This ensures you can control your lighting remotely and enjoy smart features like scheduling and voice command. Here’s how to carry out this process effectively:
- Check your Wi-Fi reception: Make sure the switch location gets a strong Wi-Fi signal. If not, consider a Wi-Fi extender.
- Download the app: Install the smart switch’s corresponding app on your smartphone or tablet from your device’s respective app store.
- Create an account: Open the app and follow the prompts to create a new user account or log in.
- Pair the switch: Follow in-app instructions to pair the smart 3-way light switch with your home network.
- Name your switch: Assign a name to your switch within the app. This makes it easier to identify in a list if you have multiple devices.
- Set up controls: Customize settings like schedules, timers, and automation based on your preferences.
After completing these steps, test the switch through the app to confirm it works as intended. If you run into issues, refer to the user manual or contact customer support for your specific switch model. Remember, a stable network connection is key to reliable operation of your smart switch. Keep this in mind when positioning your router or configuring your network.

Compatibility and Integration with Home Automation Systems
Once you’ve chosen your smart 3-way light switch, ensuring compatibility and smooth integration with your existing home automation systems is critical. Here’s what you should focus on:
- Check System Requirements: Verify that the switch is compatible with your smart home hub or voice assistant. Look for switches that mention compatibility with systems like Amazon Alexa, Google Home, or Apple HomeKit.
- Integration Capability: Choose switches that easily integrate with other smart home devices you possess. This allows for unified control of your home’s technology.
- Easy Configuration: The ideal smart switch should offer straightforward setup with your home automation system. Apps or software that assist with step-by-step configuration are a plus.
Ensuring compatibility and integration not only simplifies your life but also enhances the efficiency and functionality of your smart home. As you add smart 3-way light switches to your setup, keep in mind that they should seamlessly blend into your existing system, offering optimal control and convenience.
Troubleshooting Common Issues
Even with a careful installation, you might face some hurdles with your smart 3-way light switch. Let’s look at common issues and their quick fixes:
- Switch Not Responding: If the switch doesn’t respond to commands, ensure power is on at the breaker and that wires are securely connected.
- Poor Wi-Fi Connectivity: When the switch has issues connecting to Wi-Fi, try moving your router closer or use a Wi-Fi extender for better signal strength.
- Light Flickering: Flickering lights can indicate a loose wire connection. Check and tighten all wire nuts and connections.
- The Switch Doesn’t Work at Both Locations: Make sure the traveler wire is connected correctly at both switches. Review the wiring diagram if needed.
- Unable to Pair with App: If you can’t pair the switch with the smartphone app, check that you’re on the correct Wi-Fi network and that your phone is not blocking permissions.
- Dimming Issues: If your lights won’t dim properly, make sure you’re using dimmable bulbs and that the switch supports the dimming function.
- Unexpected Scheduling Behavior: When schedules go awry, refresh the settings in the app, and ensure your time zone is set correctly.
- Voice Command Failure: If voice commands aren’t recognized, reconnect your smart switch to your voice assistant and check for any updates.
Tackling these issues promptly will help maintain the convenience and efficiency of your smart home setup. Remember, for complex problems or persistent troubles, it’s wise to consult a professional electrician.
Safety Tips and Best Practices for DIY Installation
When embarking on a DIY installation of a smart 3-way light switch, safety cannot be overstated. Here are essential tips and practices you should follow:
- Turn Off Power: Always shut off power at the circuit breaker before starting any electrical work.
- Double-Check with a Tester: Use a voltage tester to ensure no electricity flows through the wires you’ll be handling.
- Wear Protective Gear: Put on safety glasses and gloves to protect your eyes and hands.
- Follow Instructions: Carefully read and understand the user manual for the specific smart switch model you’re installing.
- Keep a Clear Workspace: Remove any clutter from your working area to prevent accidents.
- Do Not Overstrip Wires: Strip only as much insulation as necessary to make secure connections.
- Tighten Connections: Ensure all wire nuts and screws are tightened to prevent loose connections that could cause sparks.
- Mind Wire Colors: Pay attention to wire color coding and connect them as indicated in the installation guide.
- Avoid Water: Never handle electrical components with wet hands or near moisture.
- Test Before Finalizing: Once wired, turn the power on briefly to test the switch before securing it into the wall box.
- Cap Unused Wires: If there are any extra wires not used in the installation, cap them with wire nuts for safety.
By adhering to these safety tips and practices, you’ll minimize risks and improve the success of your smart 3-way light switch installation. Doing so will help ensure a secure and functional setup that enhances your home’s smart capabilities.