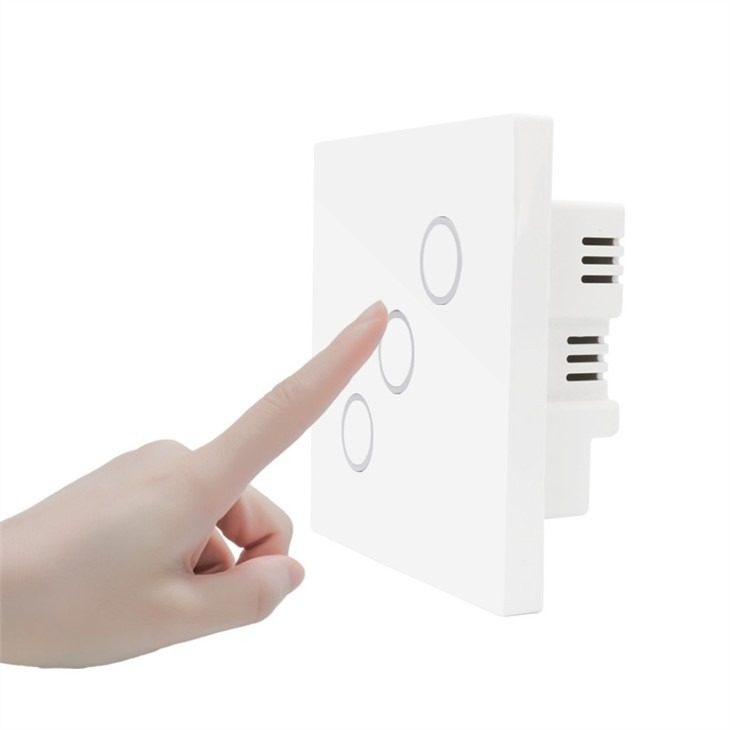
Introduction to 3-Way Smart Light Switches
In your journey to create a smart home, you may have come across the term ‘3-way smart light switch.’ But what does it mean? Simply put, a 3-way smart light switch allows you to control a single light from two different locations. This is ideal for stairways, long hallways or rooms with multiple entrances.
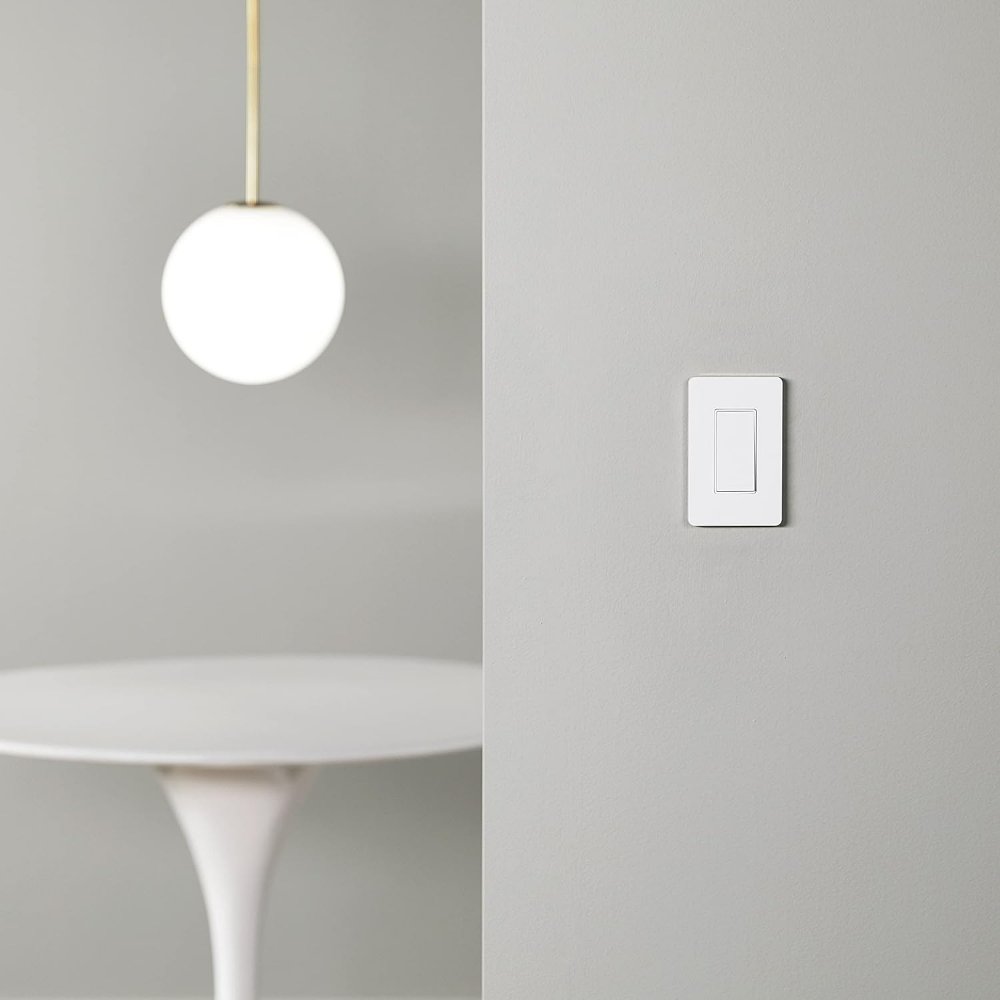
These switches are perfect for upgrading your home’s functionality while maintaining the convenience you’re used to. Unlike the standard switch, smart light switches offer the added benefit of being controllable via smartphone apps or even voice commands when integrated with smart home assistants.
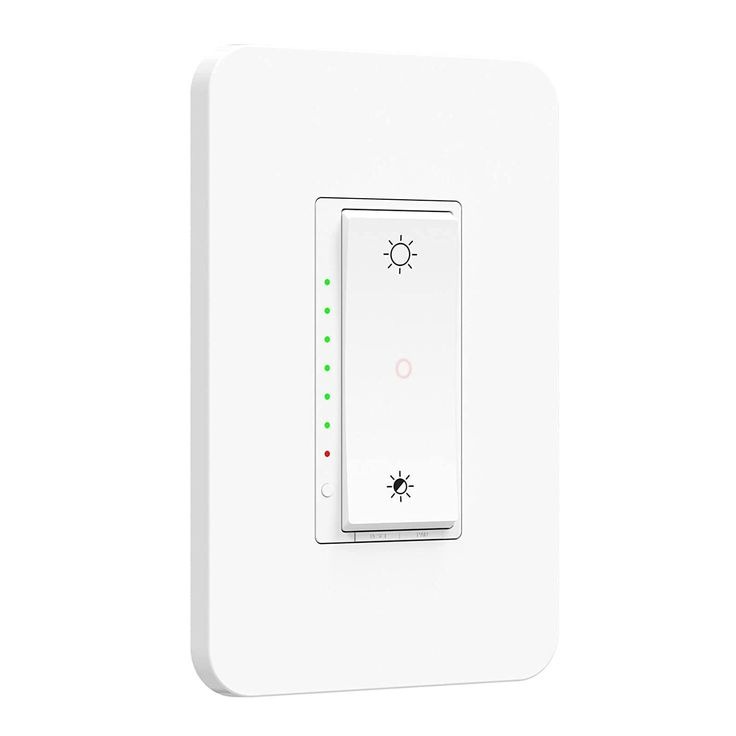
Before diving into the installation process, it’s crucial to understand the basics of how smart light switch 3 way works. Think of it as an enhanced version of the traditional 3-way switch setup, but with smarter capabilities. With a smart light switch 3 way, you not only get the ability to turn lights on or off from different locations but also the option to adjust dimming, schedule timing, and enjoy remote access.
Stay tuned as we walk you through the tools and materials you’ll need to undertake this smart home improvement. We’ll also cover safety precautions to keep in mind, give you a detailed installation guide, and provide troubleshooting tips for common issues. Understanding the world of smart light switch 3 way setups can lead to a more convenient, energy-efficient, and smartly managed home lighting system.
Tools and Materials Needed for Installation
If you’re ready to install a smart light switch 3 way, gather these tools and materials first. Ensure you have a screwdriver, wire stripper, voltage tester, and a pair of pliers. These are essential for handling wires and securing connections.
You’ll also need wire connectors and electrical tape for safety measures. A smart light switch 3 way kit should include the switch itself and a user manual. Some kits may come with wall plates and mounting screws, but if not, add those to your list too.
For materials, ensure you have the correct wire types: neutral, live, and ground wires are typical in many homes. Check that you have enough wire length to connect between switches and the power source. Remember, safety comes first, so read through the user manual thoroughly before starting.
Finally, consider grabbing a flashlight or a headlamp to keep your hands free while working. With these tools and materials on hand, you’re set to start the smart switch installation.
Safety Precautions Before Installation
Before installing your smart light switch 3 way, safety must be your top priority. To ensure a risk-free installation process, follow these essential safety precautions:
- Turn Off Power: Always start by turning off the power at the circuit breaker or fuse box. This step is non-negotiable to prevent electrical shocks.
- Verify Power is Off: Use a voltage tester to double-check that there’s no current running through the wiring where you’ll be working.
- Consult the User Manual: Each smart light switch 3 way model is different. Read the user manual carefully for specific safety instructions.
- Wear Protective Gear: Always protect your eyes with safety glasses. Consider wearing gloves to safeguard against cuts and scrapes.
- Check Wire Conditions: Inspect wires for any damage. If you find frayed or exposed wiring, it should be replaced before continuing.
- Work in a Well-Lit Area: Ensure your workspace is brightly lit. A flashlight or headlamp will help you see clearly while keeping your hands free.
- Proper Use of Tools: Familiarize yourself with the tools required and use them correctly to avoid accidents.
- Seek Professional Help if Unsure: If you are not confident about the installation, do not hesitate to hire a professional electrician.
By adhering to these safety measures, you can install your smart light switch 3 way confidently and securely. Remember, while DIY installations can be rewarding, your safety is paramount.
Step-by-Step Installation Process
Now that we’ve covered the tools, materials, and safety measures, let’s get into the step-by-step process to install your smart light switch 3 way. Follow these instructions carefully to ensure a smooth installation.
- Turn Off Power: Begin by ensuring the power to the circuit is off. Use a voltage tester to confirm.
- Remove Old Switch: Unscrew the faceplate and remove the old switch. Detach wires carefully.
- Identify Wires: Locate the live, neutral, and ground wires. Label them to avoid confusion.
- Connect Smart Switch: Follow the user manual to connect wires to the new switch. Ensure tight connections.
- Secure the Switch: Once wires are connected, mount the smart light switch 3 way in the wall box. Screw it in place.
- Test the Connection: Before fully installing the faceplate, turn on the power to test the switch. Use your app or manual controls.
- Attach Faceplate: If the switch works, turn off power again. Attach the faceplate and secure it.
- Turn Power On: Finally, turn the power back on. Your smart light switch 3 way is ready for use.
Remember, if at any point you feel uncertain or if the switch does not function as expected, consult the user manual or contact a professional. Installing a smart light switch 3 way can be a rewarding DIY project that enhances the convenience and efficiency of your home lighting.
Troubleshooting Common 3-Way Smart Switch Issues
When your smart light switch 3 way starts to act up, don’t fret. Most issues have simple solutions. Let’s explore common problems and how to fix them.
- Switch Doesn’t Respond: If the switch isn’t responding, ensure the power is on and the circuit breaker hasn’t tripped. Also, examine if the switch is correctly wired and check for loose connections.
- No Control from Both Locations: When control is absent from both locations, double-check wire connections. Make sure the traveler wires are connected properly in both switches.
- App Connectivity Issues: If the problem is with app control, ensure your home Wi-Fi is working. Also, check if the smart light switch 3 way is compatible with your smart home system.
- Dimming Problems: If dimming doesn’t work, inspect whether the bulbs are dimmable. Check that the smart switch supports the bulb type.
- Flickering Lights: Flickering can result from incorrect bulb types or loose wiring. Confirm that you’re using bulbs compatible with your smart switch.
- Switch Only Works Manually: This could be a signal issue. Make sure your smart switch is within range of your Wi-Fi router or smart home hub.
- Intermittent Functionality: Inconsistencies often stem from wiring issues. Consider reviewing your wiring connections or switch installation.
- Overloading: If your switch manages multiple lights, ensure it isn’t overloaded. Stick to wattage limits stated in the manual.
In many cases, a reset can solve a problem. Refer to your user manual on how to reset your smart light switch 3 way. If issues persist after troubleshooting, contacting customer support or hiring a professional electrician may be your best option.
Integration with Home Automation Systems
Integrating your smart light switch 3 way with home automation systems can boost convenience. Here’s how to do it effectively.
- Check Compatibility: Confirm that your smart switch works with your home automation platform.
- Follow Setup Instructions: Home automation systems usually have a setup guide. Use it to link your switch.
- Use App or Voice Commands: Once integrated, control your lights via app or voice.
- Configure Scenes and Routines: Set up scenes or routines for automated light control based on time, sunset or activities.
- Keep Firmware Updated: For smooth performance, ensure your smart switch firmware stays up to date.
- Regularly Test Connectivity: Regularly check the switch’s connectivity with your home systems.
Integration brings the future of convenient and energy-efficient lighting into the present. Your smart home can now adapt to your lifestyle, offering control with a tap or a shout. With the smart light switch 3 way installed, your lighting is smarter, saving you time and adding a layer of comfort to your living space.
Tips for Choosing the Right 3-Way Smart Switch
Choosing the right 3-way smart light switch is vital for optimal performance and convenience. Here are some tips to help you pick the perfect switch for your smart home setup:
- Prioritize Compatibility: Make sure the smart light switch 3 way you select is compatible with your home’s wiring and automation system.
- Look for Quality Brands: Opt for switches from reputable brands. They often offer better reliability and customer support.
- Check for Features: Consider switches with features like dimming, remote access, and scheduling. These enhance usability and energy efficiency.
- Read Reviews: Look at product reviews to gauge user satisfaction and to identify any common issues.
- Ease of Installation: Pick a switch that comes with a clear manual and is easy to install. This can save time and reduce the need for professional help.
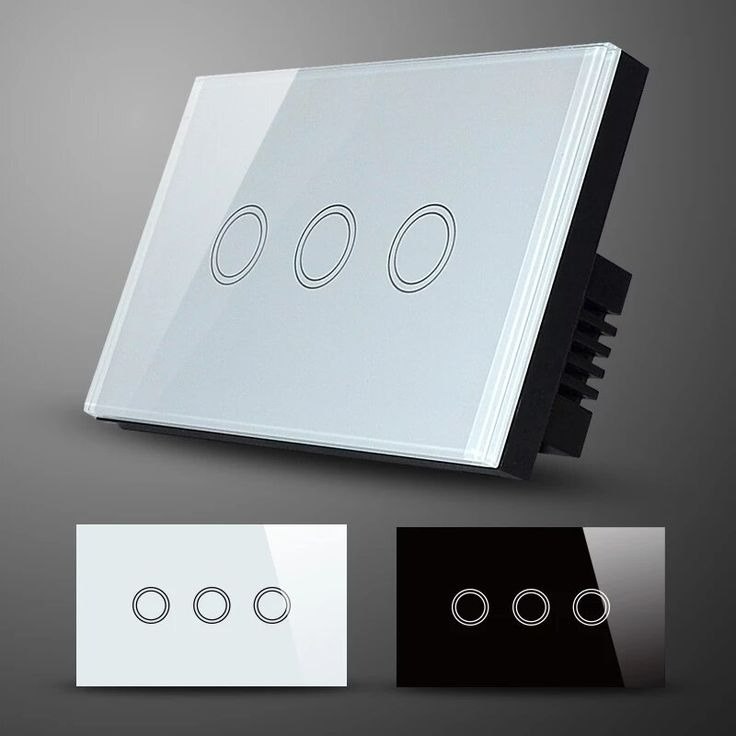
- Design Matters: Choose a design that matches your home’s aesthetics. Smart switches come in various styles and colors.
- Consider the App: The companion app should be user-friendly. Check if it allows for easy control and customization of your lighting.
- Budget Accordingly: While cost is a factor, investing in a slightly more expensive, quality switch can lead to long-term savings.
- Future-proofing: Think ahead. A switch that can adapt to new technologies is a smart buy.
- Warranty and Support: Check the warranty period and available support options. This is important if you encounter issues down the line.
By keeping these tips in mind, you can select a smart light switch 3 way that fits your needs and enhances your smart home experience.
Maintenance and Care for Smart Light Switches
To keep your smart light switch 3 way in top condition, follow these maintenance tips.
- Clean Regularly: Dust and dirt can build up on your switches. Use a dry cloth to wipe them gently.
- Check Connections: Every now and then, inspect wire connections. Loose wires can cause issues.
- Update Software: Keep your switch’s software up to date. Manufacturers release updates for better performance.
- Monitor Performance: Watch for any changes in how your switch works. If it acts up, troubleshoot promptly.
- Avoid Water Exposure: Keep liquid away from your smart switches. Water can damage the electronics.
- Handle with Care: When cleaning or adjusting, be gentle. Harsh treatment can harm internal components.
- Follow Manufacturer Guidelines: Stick to the care instructions provided by the switch manufacturer.
- Resets When Needed: If the switch malfunctions, try a reset. Check your manual on how to do this correctly.
By caring for your smart light switch 3 way properly, you extend its life and ensure it operates smoothly. A little attention goes a long way in making sure your smart home stays bright and responsive.