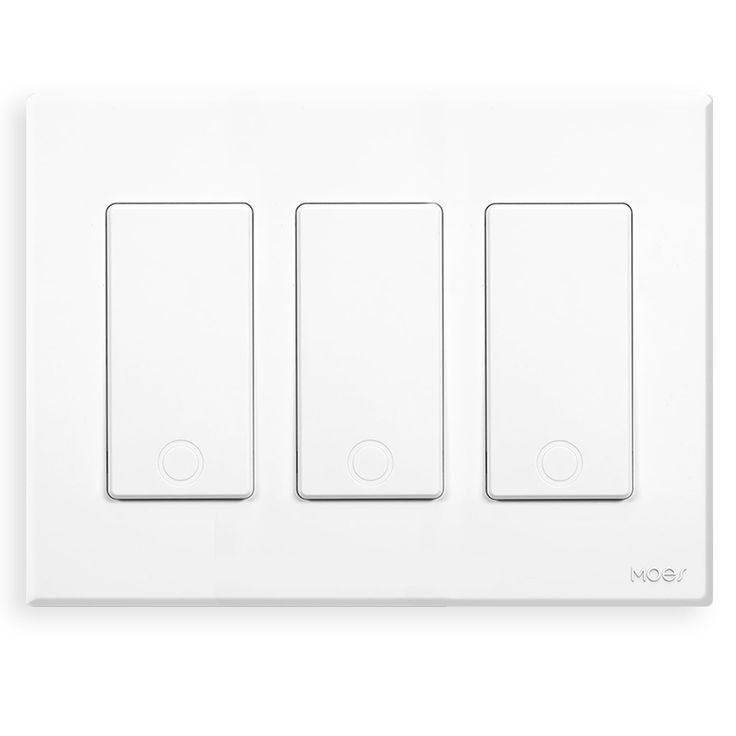
What is a Smart 3 Way Switch?
A smart 3 way switch allows you to control lighting from two separate locations. This type of switch integrates with your smart home ecosystem. It adds convenience, as you can operate it via a mobile app or voice commands. A smart 3-way switch can also include features like setting schedules and dimming. This boosts energy efficiency and provides lighting options tailored to your needs. Many models work with virtual assistants like Alexa or Google Assistant. This elevates your smart home’s functionality and user experience.
Pre-Installation Checklist
Before you dive into installing your smart 3-way switch, it’s critical to prepare. A good pre-installation checklist can save you time and avoid issues later on. Here are the key steps to follow:
- Confirm Electrical Requirements: Check your home’s electrical system. The smart 3-way switch often requires a neutral wire. Ensure your electrical box has one.
- Understand Your Wiring Setup: Study the existing 3-way switch wiring. Know which wire is which. Label them if needed for easy identification during installation.
- Power Off the Circuit: Safety first! Always turn off the circuit breaker before working on electrical wiring. Verify that the power is off with a voltage tester.
- Gather Documentation: Have your smart 3-way switch’s instruction manual within reach. It will be your guide during the installation process.
- Inspect Existing Switches: Examine the current switches. They should be in good condition and compatible with your smart device.
- Check Wi-Fi Connection: Make sure your Wi-Fi is stable. A strong connection is necessary for the smart 3-way switch to operate correctly.
- Verify Compatibility with Virtual Assistants: If you plan to use Alexa or Google Assistant, check that your smart 3-way switch is compatible.
- Prepare Tools and Materials: Collect the tools and materials listed in the next section. Having everything at your fingertips streamlines the process.
Completing this checklist helps ensure a smooth and successful installation of your smart 3-way switch. Up next, we’ll discuss the exact tools and materials you’ll need for the job.
Required Tools and Materials
To install a smart 3-way switch successfully, you’ll need certain tools and materials. Ensuring you have the right items on hand before starting can make the installation process much more efficient. Here’s what you’ll need:
- Screwdrivers: A flathead and a Phillips head screwdriver for removing and securing switch plates and wires.
- Wire Strippers: These are essential for stripping insulation from wires to make connections.
- Voltage Tester: A non-contact voltage tester helps confirm the power is off before you start working.
- Wire Nuts: These are used to securely connect wires together.
- Electrical Tape: You’ll use this to insulate wire connections or mark wires.
- Smart 3-Way Switch: Of course, the switch itself is the central component.
- Smartphone or Tablet: This is needed for setup with your home’s Wi-Fi and to connect with virtual assistants like Alexa or Google Assistant.
- Instruction Manual: Having the manual for your specific smart 3-way switch model is vital.
By collecting these tools and materials, you’re setting yourself up for a smoother installation process of your smart 3-way switch. Next, we’ll go through the installation steps from start to finish.
Step-by-Step Installation Process
Now that you have your tools and materials ready, let’s walk through the installation process of your smart 3-way switch. Follow these steps to ensure a secure and proper setup:
- Remove Old Switches: Begin by unscrewing the faceplates of the existing 3-way switches. Carefully remove the switches from the electrical boxes without disconnecting the wires.
- Document Wire Configuration: Take a photo or make a note of the current wire connection setup, which can be helpful for reference.
- Disconnect Wires: Once you’re sure the power is off, disconnect the wires from the old switches. Use the voltage tester to double-check for safety.
- Connect Smart Switch: Match the wires from the smart 3-way switch to the existing wires in the wall. Follow the instruction manual for accurate connections.
- Secure the Switch: Once connected, carefully tuck the wires into the electrical box. Mount your smart switch and secure it with screws.
- Attach the Faceplate: Install the new faceplate provided with your smart 3-way switch.
- Test Your Connection: Restore power at the circuit breaker. Test the switch operation from both locations to ensure it works properly.
- Wi-Fi Setup: Connect the switch to your Wi-Fi using your smartphone or tablet. Follow in-app instructions for integrating with other smart home devices.
- Virtual Assistant Configuration: If using Alexa or Google Assistant, complete the setup to enable voice control functions.
- Final Verification: Check all functions, including the app control, scheduling, and dimming capabilities, to confirm everything is working as expected.
By following these steps, you’ll have your smart 3-way switch installed and fully operational. Remember to consult the instruction manual throughout the process for model-specific details.
Safety Tips to Consider
When installing a smart 3-way switch, safety is paramount. Here’s how you can reduce risk during your installation:
- Turn Off the Power: Always ensure the circuit breaker is off before starting work. This prevents electric shocks.
- Use a Voltage Tester: Before touching wires, double-check that the power is really off.
- Don’t Overload the Circuit: Ensure that your smart 3-way switch and any other devices on the same circuit do not exceed its load capacity.
- Wear Protective Gear: Use safety glasses to protect your eyes from sparks or debris.
- Work in a Dry Environment: Avoid installing the switch with wet hands or in a damp location to prevent electrocution.
- Handle Wires with Care: Take caution when stripping or connecting wires to avoid damaging them.
- Follow Manufacturer Instructions: Stick to the guidelines provided in the instruction manual for a correct installation process.
- Secure Connections: Make sure all wire nuts are tight and secure to prevent electrical fires.
- Test GFCI Outlets: If your smart 3-way switch is near water sources, ensure it’s connected to a GFCI outlet for additional safety.
By respecting these safety measures, you can install your smart 3-way switch confidently and securely.
Troubleshooting Common Installation Issues
When you install a smart 3-way switch, you may face some challenges. Here is how you can troubleshoot common issues:
- Switch Doesn’t Power On: Check the circuit breaker first. If it’s on, inspect wire connections to ensure they match your instruction manual.
- Lights Won’t Turn Off: This could happen if the traveler wires are crossed. Review your wiring diagram and adjust the connections accordingly.
- Flickering Lights: This symptom often indicates a loose wire. Turn off the power and tighten all wire nuts and connections.
- Smart Switch Not Responding: Make sure your Wi-Fi is working. If it is, try resetting the switch or reinstalling the app on your mobile device.
- Inconsistent Operation from Different Locations: This might be due to incorrect wiring. Go back to your notes or photos and double-check the configuration against the manual.
- No Dimming Functionality: Verify that the smart 3-way switch supports dimming. If it does, check that the bulbs you’re using are dimmable and properly installed.
- Smartphone App Can’t Find the Switch: Ensure your phone’s Bluetooth is on and you’re close to the switch. Restart the app and attempt to reconnect.
- Cannot Connect to Virtual Assistants: Recheck the compatibility of your switch with Alexa or Google Assistant. Follow the steps in the user guide to sync correctly.
By addressing these common problems, your smart 3-way switch installation should go more smoothly. If issues continue, consult customer support for your switch model.
Smart 3-Way Switch Compatibility with Home Automation Systems
A smart 3-way switch is more than just a fancy light toggle. It’s a key part of a bigger, interconnected smart home system. Compatibility is crucial here. Most smart switches work well with at least one home automation platform, like Amazon’s Alexa, Google Assistant, or Apple’s HomeKit. Before buying, check the product details for compatibility.
A compatible switch lets you:
- Voice Control: Use voice commands to turn on and off lights without lifting a finger.
- App Connectivity: Manage your lights through a phone or tablet app, even when you’re away.
- Scheduling: Set lights to turn on and off at preset times for added convenience.
- Scenes and Routines: Create lighting settings for activities like movie nights or morning wake-ups.
Know your home automation system to find the right smart 3-way switch. If you have Alexa, look for switches with “Works with Alexa” tags. For Google Assistant, seek out switches labeled with “Works with Google Assistant”. For Apple users, find switches that have “Works with HomeKit”.
In case you plan to switch automation systems in the future, consider a smart 3-way switch that’s universally compatible. It might cost more, but it provides flexibility.
Lastly, keep your system up-to-date. Software updates can improve functionality and compatibility. Follow manufacturer instructions for these updates to ensure your smart switch keeps working with your home automation system.
Best Practices for Maintenance and Operation
To keep your smart 3-way switch working smoothly, follow these best practices for maintenance and operation:
- Regularly Check Connections: Ensure wires stay secure and tight. Loose wires can cause issues.
- Keep Firmware Updated: Manufacturers release updates for better performance. Install them as soon as available.
- Clean the Switch: Dust off the faceplate gently. Use a dry cloth to avoid water damage.
- Monitor the App: Watch for app notifications or errors. Resolve them quickly to maintain functionality.
- Test the Functionality Periodically: Use the switch’s manual button and the app. Ensure both work as expected.
- Reboot After Power Outages: Sometimes a switch needs resetting after a loss of power.
- Follow Manufacturer’s Instructions: Stick to the care guidelines in the manual for specific dos and don’ts.
- Schedule Routine Inspections: Plan a bi-yearly check to catch any potential problems early.
By doing these simple steps, you can enjoy the convenience of your smart 3-way switch for years to come. Keep compatible bulbs installed, and if you integrate with smart home systems like Alexa or Google Assistant, ensure those connections remain active. Staying proactive about your smart 3-way switch’s maintenance and operation will lead to a more reliable smart home experience.