What is a Smart Switch?
A smart switch is an intelligent home device. It lets you control lights with your phone or voice. Unlike traditional switches, smart switches connect to your home Wi-Fi. This allows for remote control, even when you’re not home. They can also work with other smart home devices.
Smart switches can be programmed for different tasks. For example, turning on lights at a specific time. They also can adjust lighting levels and track energy usage. They offer convenience and enhanced functionality over regular light switches. Smart switches are part of the growing smart home technology trend. They provide advanced features that traditional switches don’t have. Understanding smart switch wiring diagrams is key. This knowledge will help you install and use them correctly.
Required Tools and Materials for Smart Switch Installation
Before beginning the installation of your new smart switch, it’s essential to gather all the necessary tools and materials. Having everything you need on hand will make the process smoother and reduce the risk of interruptions. Here’s what you’ll typically require for the job:
- Screwdriver: Often, a flat-head or Phillips-head screwdriver is necessary for removing the old switch and securing the new one.
- Wire stripper: This tool is helpful for preparing the electrical wires for connection.
- Voltage tester: Safety first! Use a voltage tester to ensure that power is off to the switch before you start working.
- Wire nuts: These are used to secure wire connections.
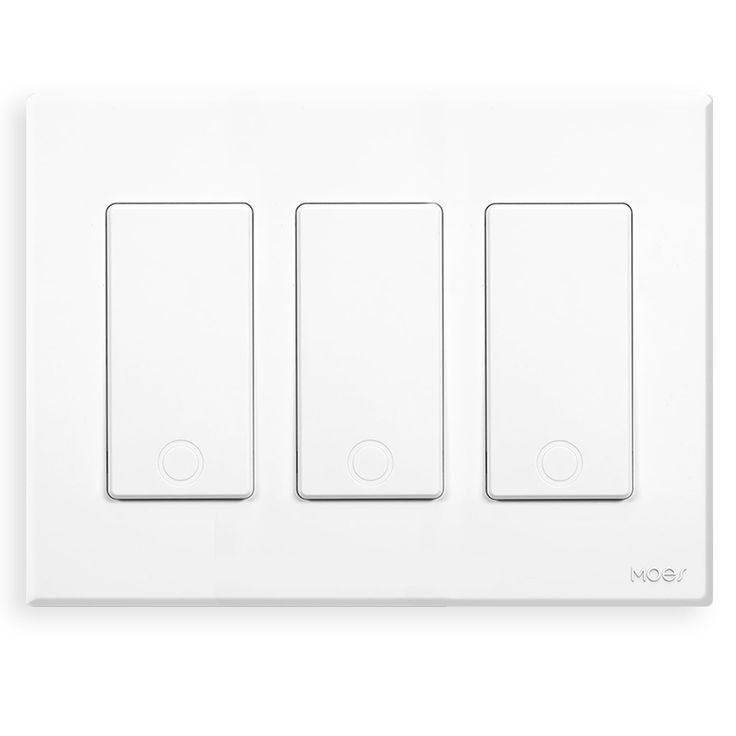
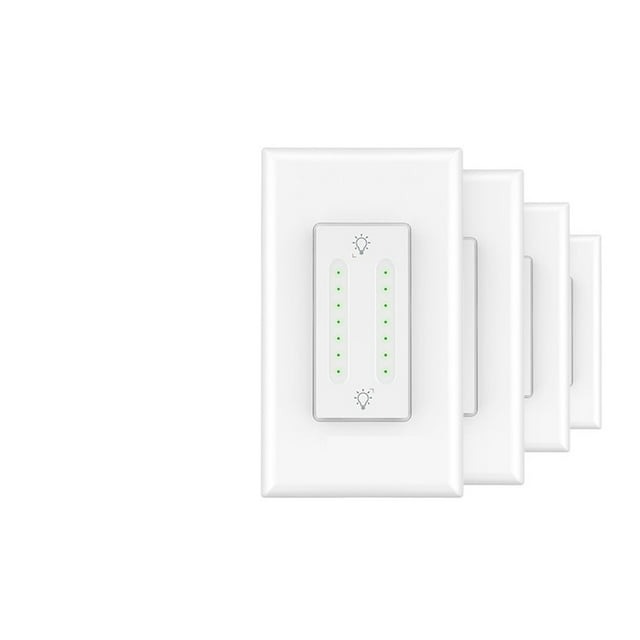
- Smart switch: Naturally, you’ll need the smart switch itself, chosen to fit your particular needs and compatibility with your home automation system.
- Smartphone or tablet: For setting up and configuring the smart switch through its respective app.
Double-check that these tools and materials align with the specific requirements of the smart switch model you’ve purchased. Manufacturers may provide additional items or require specific tools for installation, so it’s important to review their installation guide carefully.
Safety Precautions Before Wiring a Smart Switch
Safety is paramount when dealing with electrical installations like smart switch wiring. Prioritize these steps to prevent accidents and ensure a safe installation process.
- Turn off the power: Always shut off the power to the circuit you’re working on by flipping the breaker. Confirm power is off with a voltage tester.
- Check the wiring diagram: Refer to the smart switch wiring diagram in the manual. Make sure you understand it thoroughly before proceeding.
- Use insulated tools: Work with screwdrivers and pliers that have insulated handles to reduce the risk of electric shock.
- Wear safety gear: Put on safety glasses to protect your eyes from sparks or debris.
- Be cautious with wires: Handle electrical wires carefully. Do not tug or force them.
- Secure your work environment: Ensure a stable platform to work on and keep your work area dry.
- Double-check connections: Make sure wire nuts are tight and secure to avoid loose connections that can cause electrical fires.
- Test before use: Once installed, test the smart switch with the power still off to ensure it’s wired correctly.
By following these safety measures, you reduce the risk of injury and property damage. Remember, if unsure, consult a professional electrician to assist with the smart switch installation.
Step-by-Step Guide on Wiring a Smart Switch
Wiring a smart switch may seem challenging, but you can do it with clear instructions. Follow this guide to ensure a successful installation.
Step 1: Turn Off Power to the Circuit
Before you begin, cut power to the switch. Use your voltage tester to confirm the circuit is dead.
Step 2: Remove the Old Switch
Unscrew and gently pull out the existing switch. Detach wires from the terminals.
Step 3: Identify and Prepare Your Wires
You’ll find different colored wires. A black wire is usually ‘live’. The white wire is often ‘neutral’. A green or bare copper wire is ‘ground’. Read the smart switch wiring diagram for guidance.
Step 4: Connect the Wires to the Smart Switch
Match wires to the correct terminals on the new switch as shown in the smart switch wiring diagram. Secure them with wire nuts or built-in connectors.
Step 5: Attach the Smart Switch to the Wall
The switch should fit where the old one was. Screw it in place carefully.
Step 6: Restore Power and Test
Turn the power back on. Test the switch using its manual switch or a connected app.
Step 7: Set Up the Switch with Your Network
Use your smartphone or tablet to connect the switch to your Wi-Fi. Follow the app instructions for setup.
By following each step thoroughly and referring to the smart switch wiring diagram when necessary, you can ensure your smart switch is installed properly. Always prioritize safety and double-check your work. If you hit a snag, it’s better to consult a professional than risk a faulty installation.
Troubleshooting Common Smart Switch Wiring Issues
When installing a smart switch, issues may come up. Here are common problems and how to fix them:
No Power to the Smart Switch
Make sure the circuit breaker is on. Use a voltage tester to check for power.
Smart Switch Not Connecting to Wi-Fi
Check your home Wi-Fi network. Make sure the switch is in range. Restart your router if needed.
Inconsistent Switch Performance
Check for loose wire nuts or connections. Ensure wires are snug in their terminals.
Lights Flickering or Not Turning On
This could be due to incorrect wiring. Review the smart switch wiring diagram and re-attach wires correctly.
Switch Makes Buzzing Noises
A buzzing switch may indicate a loose connection. Tighten all terminal screws and wire nuts.
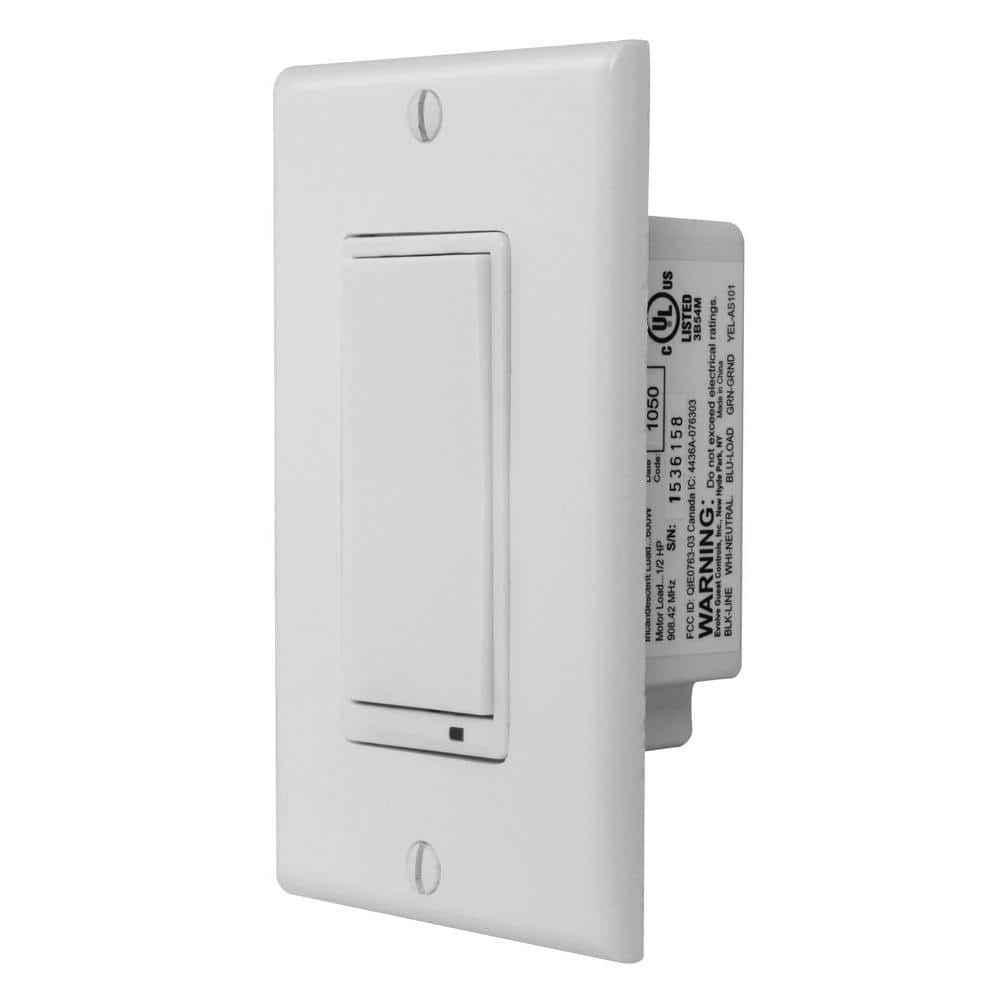
Smart Switch Doesn’t Fit in Wall Box
Some smart switches are larger than traditional ones. Double-check dimensions before purchase or you may need a larger wall box.
By identifying and solving these issues, your smart switch should work well. Always refer to the smart switch wiring diagram whenever you encounter a problem. It’s a vital tool for proper installation and troubleshooting.
Integrating Smart Switches with Home Automation Systems
After you’ve installed your smart switch, the next step is to integrate it with your home automation system. This process is straightforward, but there are a few key points you should keep in mind.
Make Sure Your Smart Switch is Compatible: Before you buy a smart switch, check that it works with your home automation system. Most smart switches are compatible with popular systems like Amazon Alexa, Google Home, or Apple HomeKit.
Follow the App Instructions: Use the app that came with your smart switch. It will have a guide for linking your switch to your home system. Follow the steps carefully.
Place it Within Range: Your smart switch needs to connect to your home Wi-Fi. Make sure it is within range of your router to avoid connection issues.
Assign to Rooms or Zones: Group your smart switch with other devices by room or zone. This makes it easier to control all devices in one area.
Set Up Schedules and Scenes: You can program your smart switch to turn on or off at certain times. You can also create scenes that control multiple devices with one command.
Testing and Adjustment: Test your settings to make sure they work as planned. Adjust the settings in the app if needed to fine-tune your system. Make sure to check the range and stability of the Wi-Fi connection.
By integrating your smart switch into your home automation system, you gain greater control over your home’s lighting and energy usage. It also adds convenience and can even increase your home’s security. Remember, if you struggle with tech, ask for help. A tech-savvy friend or a professional can make sure you get the most out of your smart home system.
Tips for Choosing the Right Smart Switch for Your Home
Choosing the right smart switch is crucial for your home’s automation. Here are some tips to help you select the best one:
Assess Compatibility: Ensure the smart switch works with your existing home automation system. Look for compatibility with systems like Amazon Alexa, Google Home, or Apple HomeKit.
Consider Wiring Requirements: Check if your home has a neutral wire. Most smart switches need one. Refer to a smart switch wiring diagram if needed.
Determine Switch Functionality: Decide what you want your smart switch to do. Dimming lights, scheduling, and remote access are common features.
Evaluate Design and Form Factor: Look for a design that matches your home. Some switches have sleek, modern looks that fit well with contemporary decor.
Check Electrical Ratings: Make sure the smart switch can handle the electrical load of your lights or appliances.
Think About Future Needs: Choose a smart switch that can adapt to future upgrades in your smart home system.
Review the App Features: The switch’s app should be user-friendly. It’s where you’ll control settings and update firmware.
Consider the Price: Smart switches vary in price. Balance cost with the features you need.
By following these tips, you’ll find a smart switch that fits your needs and your home’s setup. Always double-check with a smart switch wiring diagram to ensure your choice is suitable for your home’s electrical configuration.
The Future of Home Lighting Control: Beyond Smart Switches
The landscape of home lighting control is evolving rapidly, heralding a future where smart switches are just the beginning. As technology advances, we foresee a world where lighting control becomes more intuitive, predictive, and integrated with other smart home systems. In the not-too-distant future, lighting systems may automatically adjust based on your habits, the time of day, or even the weather. Here’s what to expect in this bright future:
- Predictive Lighting: Lights could use artificial intelligence to learn your schedule and habits. They might turn on or off as you enter or leave a room, without a command.
- Sensor Integration: Motion, ambient light, and temperature sensors might control lighting. This could save energy and increase comfort.
- Voice-Activated Control: While already in use, this will likely become more refined. Your voice could not only turn lights on or off but also adjust brightness and color.
- Integration with Wearables: Imagine controlling lights with a smartwatch or fitness band. A simple gesture could dim the lights or change their hue.
- Health-Connected Lighting: Lights could sync with your devices to promote better sleep or wake you gently in the morning.
- Dynamic Light Scenes: Instead of setting up scenes manually, your lighting could respond to entertainment. For example, lights could change with the beat of music or the mood of a movie.
- More Energy Savings: Future lighting controls will likely focus on sustainability. They might adjust based on peak energy hours to save on electricity bills.
As exciting as these developments are, it’s important to stay informed about new products and updates. Keeping up with the latest in smart switch wiring diagrams and compatibility will ensure your home is ready for the future of light control. Embrace the innovation, but remember the core principles of safety and compatibility when making changes to your home’s lighting system.