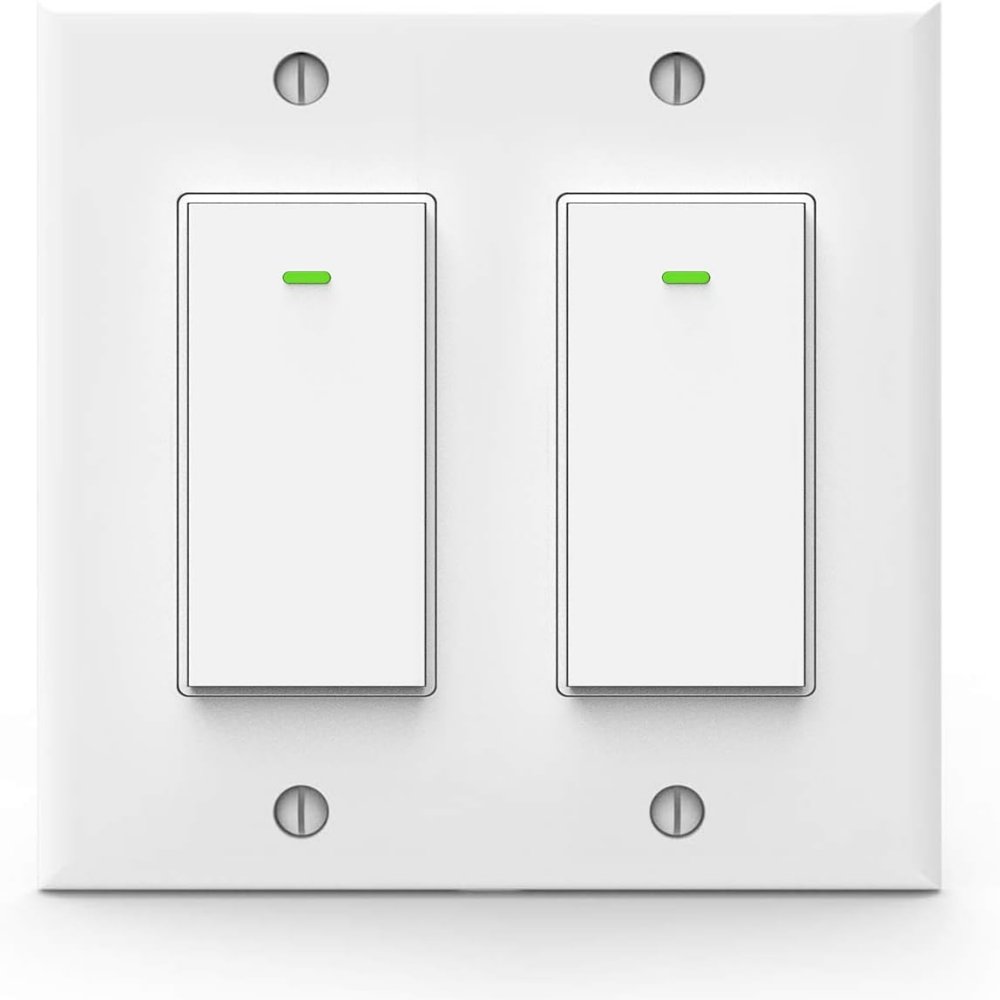
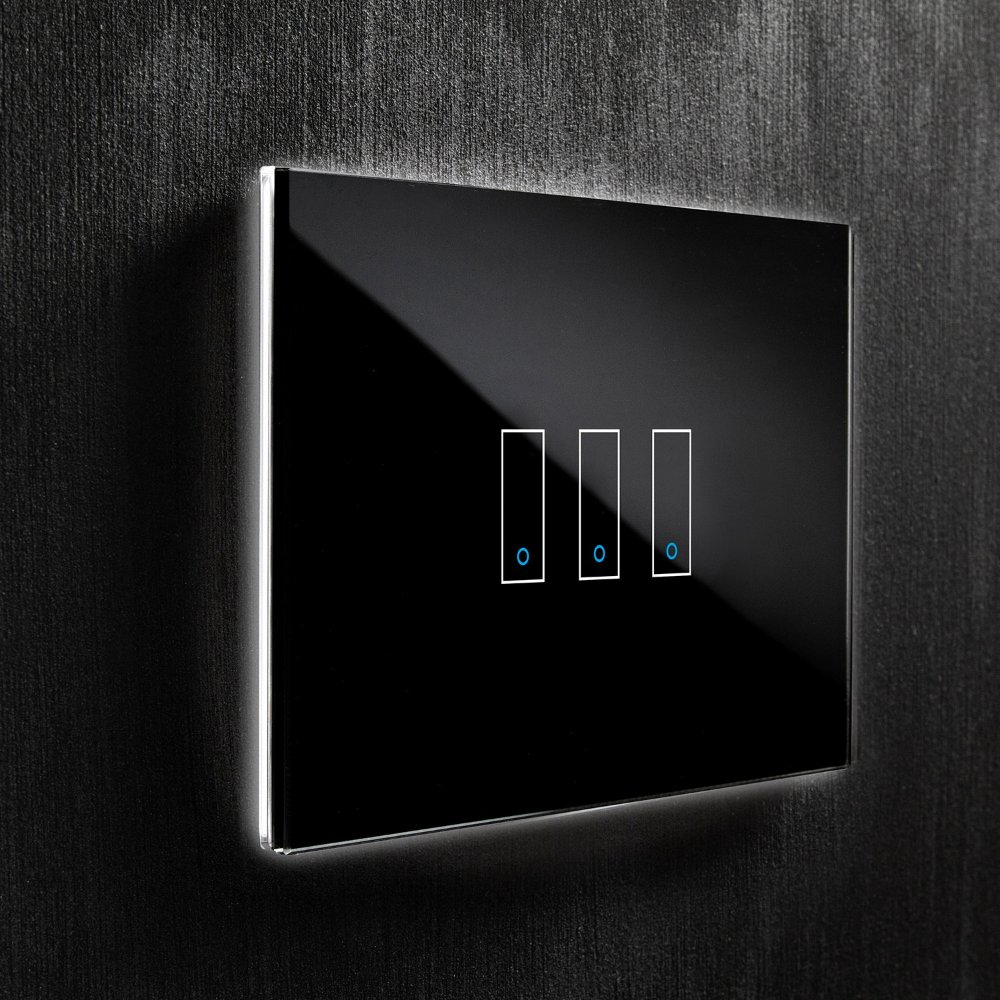
Why Upgrade to a Smart Switch?
With the rapid advances in home technology, upgrading to a smart switch is becoming increasingly popular. Smart switches allow for more control, convenience, and customization of lighting than traditional switches. The holiday season is a time for festive decorations, and nothing brightens up the spirit of Christmas. Integrating smart technology into your holiday decor not only elevates the aesthetic appeal but also adds convenience to managing your Christmas lights. By installing a smart switch, homeowners can enjoy the perks of modern lighting technology that also syncs with their smart home ecosystem.
Benefits of Smart Lighting Control
One of the primary advantages of smart lighting control is the ability to manage your lights remotely. Whether you’re in bed and forgot to turn off the kitchen light or on vacation and want to make your home look lived in, smart switches provide that control at your fingertips. They can be operated through voice commands or via a smartphone app, giving you the flexibility to control lighting scenes and schedules no matter where you are.
Moreover, smart lighting enhances home security by allowing you to set schedules that mimic your routine, deterring potential intruders. It also contributes to a personalized environment, as lighting can be adjusted to match different moods or activities, like dimming the lights for a movie night.
Energy Efficiency and Savings
Smart switches are not just about convenience; they also promote energy efficiency and can lead to significant savings on electricity bills. They work by allowing you to schedule when the lights should be on or off, thus avoiding unnecessary energy consumption. With features like motion detection or ambient light sensors, they can automatically adjust lighting based on the presence of people or the amount of natural light in a room.
By using energy efficiently, you’re not only cutting costs but also contributing to a greener planet. Upgrading to a smart switch could be a small step towards a more sustainable lifestyle. Over time, the reduction in energy usage can add up to a noticeable difference in both your carbon footprint and your energy expenses.

Tools and Materials Needed
Before you start the process to install smart switch, make sure you have all tools and materials ready. A proper set of tools ensures a safe and efficient installation, while the right materials guarantee compatibility with your smart home system.
Essential Tools for Installation
When preparing to install a smart switch, gather the following tools:
- Screwdrivers: A flathead and a Phillips-head screwdriver for removing the old switch and installing the new one.
- Wire strippers: To prepare electrical wires for connection.
- Voltage tester: To check for live wires before starting work.
- Pliers: Needle-nose pliers can help manipulate wires and secure connections.
These tools are commonly found in a basic home toolbox. If you don’t have one, they are worth the investment, not just for this project, but for general home maintenance.
Safety Equipment
Safety must be your top priority during the installation. Use the following safety equipment:
- Safety glasses: To protect your eyes from debris.
- Gloves: Non-conductive gloves can protect you from electrical shocks.
- Dust mask: If you’re sensitive to dust while working on electrical installations.
Always wear this equipment when you’re performing the installation to avoid accidents. After compiling your tools and safety gear, you’re ready to move on to the next step: preparing for installation. Remember to read the manufacturer’s manual for any specific tool requirements for your smart switch model.
Preparing for Installation
Before you start to install smart switch, preparation is key. This phase sets the groundwork for a safe and successful installation of your new smart lighting system.
Turning Off Power at the Circuit Breaker
The first step in preparation is ensuring your safety by turning off power. Locate your home’s circuit breaker box and find the switch controlling the power to the room where you will install the smart switch. Flip the breaker to the “Off” position to cut power to the circuit. This step is crucial to prevent any electrical hazards during installation.
Verifying Power is Off
After turning off the power at the circuit breaker, it’s vital to confirm that there is no electricity flowing to the switch. Take your voltage tester and touch it to the wires that were connected to the old switch. No light or sound from the tester means the power is successfully cut. Double-checking protects you from electrical shocks as you proceed to install smart switch.

Step-by-Step Installation Process
With the preparation complete and power safely turned off, you’re now ready to start the installation process. This step-by-step walkthrough will guide you through removing the old switch and connecting the smart switch with ease.
Removing the Old Switch
First, take your screwdriver and remove the faceplate from the old switch. Next, unscrew the switch itself from the electrical box. Gently pull out the switch, exposing the wires. Label each wire to remember where they connect, or take a photo for reference.
Before you disconnect the wires, use your wire strippers to ensure they’re not frayed or damaged. If they are, strip them to expose fresh wire for a more reliable connection. Disconnect the wires from the old switch, carefully removing any wire nuts or tape.
Connecting the Smart Switch
Now, take your smart switch and match the wires to the corresponding terminals. Generally, smart switches require a common wire (C-wire), but your model could be different. Check the manual to confirm.
Connect the wires to the new switch. Black wires typically connect to the common terminal, while white go to neutral and green or bare copper wires attach to ground. If there’s a red wire, it might be for a three-way switch setup. Once connected, use wire nuts to protect the connections.
Carefully push the smart switch back into the electrical box and secure it with the screws provided. Replace the faceplate, and you’re nearly done. The physical installation is complete, but you need to configure the switch to work with your smart home system.
Configuring the Smart Switch
After installing your smart switch, setting it up properly ensures seamless operation.
Setting Up Through an App
Most smart switches come with a dedicated app for initial setup. First, download the app from your smartphone’s app store. Connect your smartphone to Wi-Fi. Open the app and create an account if required. Follow the app’s instructions to connect the switch to your network. This step typically involves selecting your new smart switch from a list within the app and entering any required information, such as your home network password. Once connected, you can customize settings like schedules and remote control permissions.

Integrating with Home Automation Systems
To harness the full potential of your smart switch, integrate it with your existing home automation system. Check compatibility via the switch’s manual or online product description. Using the same app, select the option to integrate with home systems like Google Home or Alexa. Follow the on-screen instructions to link your switch to these services. This integration allows voice control and interactions with other smart devices. It’s now easier to manage your home’s lighting and energy use efficiently.
Troubleshooting Common Issues
Even with a proper install smart switch setup, issues can arise. Knowing how to troubleshoot common problems will keep your smart lighting system running smoothly.
Connectivity Problems
If your smart switch isn’t responding, check Wi-Fi connection first. Ensure your router is online and broadcasting. Reboot the device if needed. Next, verify that your smart switch is in range of your Wi-Fi signal. If it’s too far, consider a Wi-Fi extender. Also, check if too many devices overload your network and limit connection capacity. Reducing connected devices may solve the issue.
Make sure the switch’s firmware is up to date. Outdated software can cause connectivity troubles. Use the switch’s app to check for and install updates. If problems persist, resetting the switch to factory settings can help. Refer to the manual for instructions on resetting.
Fixture Compatibility
Some lighting fixtures might not work well with smart switches. If lights flicker or don’t turn on, check the fixture compatibility. The smart switch manual usually lists compatible bulb types and fixtures. If needed, swap out incompatible bulbs for ones that work with your smart switch.
Ensure the switch is correctly wired to the fixture. Poor connections can lead to malfunction. If you’re not sure, review the installation steps or consult a professional. Remember, safety comes first when dealing with electrical components.
By tackling these common hiccups, you can ensure your smart switch functions properly within your smart home ecosystem.

Maintenance and Care
After you install smart switch, it’s important to maintain it well. Proper maintenance ensures long-term efficiency and performance. Regular checks and updates are part of keeping your smart switch operational.
Routine Checks
Keep an eye on your smart switches. Check them regularly for any signs of issues. Look for loose connections or damage. Test the switch functions via the app or voice control. Make sure the switch turns lights on and off as expected. If you notice anything off, troubleshoot or get professional help if needed.
Keep the switches clean. Dust can build up and cause problems. Use a soft cloth to gently wipe the faceplate and surrounding area. Don’t let the smart switches get wet. Water can damage the electronics inside.
Listen for unusual sounds. Switches shouldn’t make noise. If you hear buzzing or clicking, it’s a sign something may be wrong. Check your manual or call for support.
Record any changes. If lights start behaving differently or controls don’t respond right away, make a note. These details help when seeking help or troubleshooting.
Updates and Upgrades
Always keep your smart switch software up to date. New updates often include improvements and bug fixes. Use the associated app to check for updates. Install them as soon as they are available. This keeps your switch secure and functional.
Consider the latest features. Manufacturers sometimes release new features. These can make your smart switches work better or give you more control options.
Upgrade when needed. Over time, newer models with better performance and features come out. If your switch is old, think about upgrading to a newer version for improved functionality.
By doing routine checks and staying on top of updates, your smart switches will serve you well for years to come. They’ll work better, last longer, and keep your home smart and energy-efficient.
Merry Christmas! May your holiday be filled with joy and laughter!
