Introduction to 3 Way Smart Dimmer Switches
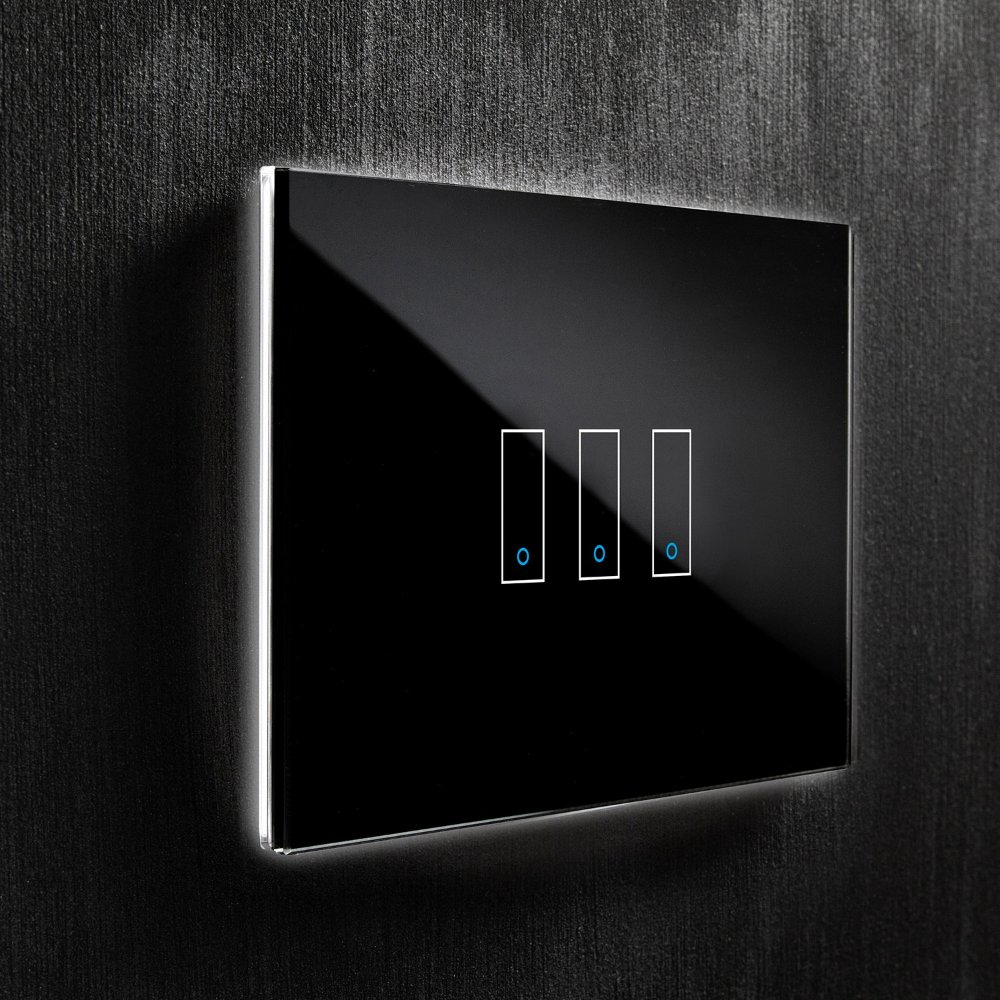
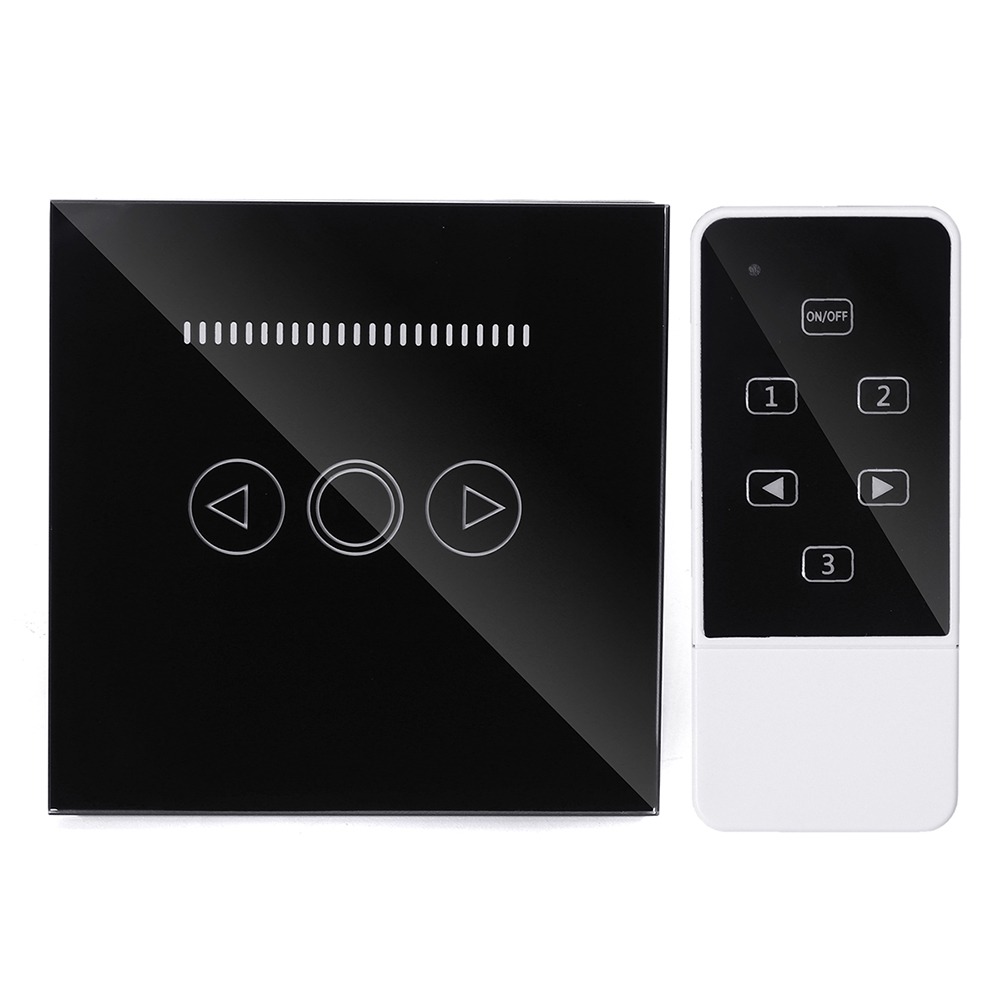
A 3-way smart dimmer switch allows for adjustable lighting control from multiple locations. This versatile device can be an excellent addition to your home lighting system. It enables you not only to turn lights on and off from different places but also to adjust their brightness levels. This can create the perfect ambiance for any activity, from reading to hosting dinner parties.
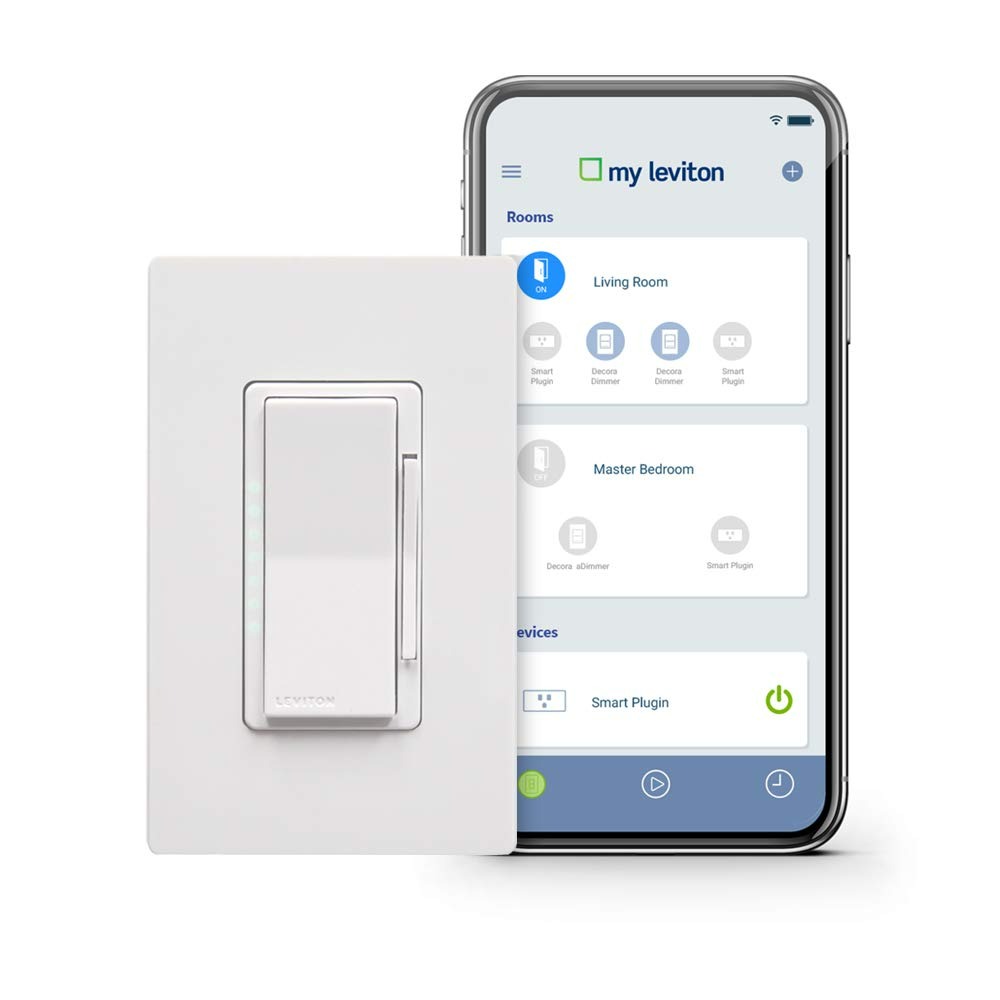
With a 3-way smart dimmer switch, you can control lights from two separate locations without moving. Imagine adjusting your living room’s lighting from both the entryway and your couch. This flexibility is especially beneficial in large rooms or hallways. Additionally, these switches are smart. They can be integrated with various home automation systems. This tech-savvy feature allows you to regulate your home’s lighting through mobile apps or voice commands.
To fully reap the benefits of a 3-way smart dimmer switch, a proper installation is critical. The following sections will guide you through necessary tools, safety precautions, and a detailed wiring guide.

Tools and Materials Needed for Installation
Before you dive into the installation of your 3-way smart dimmer switch, gather all the necessary tools and materials. This preparation can streamline the process and help avoid any interruptions. Here’s a list of items you should have at hand:
- 3-Way Smart Dimmer Switch: Ensure you have the correct model that supports 3-way configurations.
- Screwdrivers: A flat-head and a Phillips-head screwdriver will be needed for securing connections and mounting the switch.
- Wire Strippers: To prepare the wires for connection, you’ll need a good pair of wire strippers.
- Voltage Tester: Safety comes first. A voltage tester is essential to confirm the power is off before starting the work.
- Electrical Tape: For insulating wire connections, electrical tape is a must-have.
- Wire Connectors: These are used to securely join the wires.
- Wire Nuts: For safety and organization, wire nuts will come in handy to cap off wire connections.
- User Manual: Keep the manual for your 3-way smart dimmer switch close by for reference.
- Mobile Device: If your switch is app-controlled, have a mobile device ready for setup.
Double-check that you have all these items before you start. Proper tools and materials will ensure a smooth and successful installation of your 3-way smart dimmer switch. Keep this list handy as you prepare to enhance your home’s lighting system.
Safety Precautions Before Installation
Before you begin installing your 3-way smart dimmer switch, ensuring your safety is crucial. Here’s what you need to do to avoid any potential hazards during the installation process:
- Turn Off the Power: Always shut off the circuit breaker or remove the fuse that controls the lighting circuit. This is the most critical step to prevent electric shock.
- Confirm the Power is Off: Use a voltage tester on the wires you will be working with to make sure the power is indeed off. Never assume the power is off by testing with your hands or other body parts.
- Wear Protective Gear: Put on safety glasses to protect your eyes from debris and insulated gloves to safeguard your hands from live wires accidentally.
- Check Wire Conditions: Inspect all wires for signs of damage like fraying or nicks. Damaged wires can cause short circuits and should be replaced or repaired before continuing.
- Understand the Wiring: Familiarize yourself with the wiring diagram provided with your 3-way smart dimmer switch. Knowing how the wires connect helps prevent mistakes.
- Avoid Working Alone: Have someone nearby when you’re installing the switch. In case of an emergency, it’s better to have help at hand.
- Keep a Flashlight Handy: Because you’ll be working with the power off, a flashlight will help you see what you’re doing clearly.
Adhering to these safety measures will help ensure that your installation of the 3-way smart dimmer switch is both safe and successful.

Step-by-Step Guide to Wiring a 3-Way Smart Dimmer Switch
Now that you’ve assembled your tools and taken safety precautions, let’s move on to the wiring process. Wiring a 3-way smart dimmer switch may seem daunting, but by following these steps you can do it with confidence:
- Power Off Confirmation: Double-check that the power is off using your voltage tester.
- Remove Old Switches: Carefully remove the existing switches at both locations. Unscrew and pull out to access wires.
- Identify Wires: Note the common wire (usually a different color) and the traveler wires in your existing setup.
- Connect Dimmer Switch: Attach the common wire to the corresponding terminal on your new dimmer. Connect traveler wires to their respective terminals.
- Grounding: If there’s a grounding wire, connect it to the ground terminal on the dimmer.
- Secure Dimmer in Place: Carefully push the wires back into the wall box and secure the dimmer with screws.
- Repeat for Second Switch: If your kit comes with a companion dimmer or remote, install it at the second location using the same steps.
- Turn Power On: Once both switches are installed, turn the power back on at the breaker box.
- Test Your Dimmer: Operate the dimmer from both locations to ensure everything functions correctly.
- Set Up Smart Features: If applicable, complete setup with your mobile device or smart home system for remote and voice control.
By following these steps carefully, you should now have a functioning 3-way smart dimmer switch that enhances the lighting control in your home. Remember to follow the manufacturer’s instructions and adhere to local electrical codes for the safe installation of your device.
Troubleshooting Common Issues During Installation
When installing a 3-way smart dimmer switch, you may face some common issues. Here’s how to address them effectively:
- Dimmer Not Responding: If the dimmer doesn’t respond, check that the power is on. Ensure wires are connected to the correct terminals.
- Lights Won’t Dim: Ensure your bulbs are dimmable. Some LED or CFL bulbs need compatible dimmers.
- Flickering Lights: This may occur with incorrect bulb types or loose connections. Double-check both.
- Only One Switch Controls the Light: Make sure traveler wires are connected properly. Both switches should operate the light.
- Smart Features Aren’t Working: For issues with app control or voice commands, verify your Wi-Fi connection and consult the device’s manual.
- Circuit Breaker Trips: This likely indicates a wiring error. Turn off the power and review your wiring setup.
- Buzzing Noise from Dimmer: This can stem from a high wattage load. Check if your switch is rated for the load.
- Switch Doesn’t Fit in the Wall Box: Ensure no excess wires obstruct the switch. Properly fold them to fit.
By addressing these issues, you should be able to complete the installation of your 3-way smart dimmer switch successfully. Always refer to the manufacturer’s manual and contact a professional electrician if you’re unsure about any steps.

Integrating the 3-Way Smart Dimmer with Home Automation Systems
Once you’ve successfully wired your 3-way smart dimmer switch, the next exciting step is integration. This step will bring your home lighting control to a new level of convenience and sophistication. Here’s a straightforward approach to connect your 3-way smart dimmer with home automation systems:
First, ensure that your home automation hub is compatible with your dimmer switch. Check the manual or the manufacturer’s website for compatibility information. Most smart dimmers work well with popular systems like Amazon Alexa, Google Assistant, or Apple HomeKit.
Next, download the app that goes with your home automation system. Follow the app’s instructions to add a new device. When prompted, you should select ‘dimmer switch’ and then look for your specific model.
Once you’ve found your dimmer model within the app, you might need to sync it. Often, this involves pressing a button on the switch or entering a code within the app. The app will guide you through this syncing process.
After syncing, you can name your dimmer switch. Choose a name that’s easy to remember, like ‘Living Room Dimmer.’ Doing so will help in giving voice commands or setting up routines later on.
Finally, you can start exploring features like scheduling, remote control, or linking your dimmer switch to voice commands. Set the mood for dinner with a simple voice command or dim the lights automatically at bedtime.
By integrating your 3-way smart dimmer switch with a home automation system, you get to enjoy the ultimate in lighting customization. Remember that for troubleshooting or advanced settings, the user manual is your best resource. Enjoy the ease and efficiency of controlling your home’s lighting from anywhere!
Frequently Asked Questions About 3-Way Smart Dimmer Switches
As you delve into the world of smart lighting, you might come across some common inquiries. Below, we address key questions often asked by users installing and operating 3-way smart dimmer switches:
- What is a 3-way smart dimmer switch?
A 3-way smart dimmer switch lets you control lights from two locations. It also adjusts brightness and can link to home automation.
- Do I need a special bulb for my dimmer?
Yes, use dimmable bulbs. Some LEDs and CFLs require compatible dimmers for smooth operation.
- Can I use a 3-way smart dimmer switch with any wiring?
You need a specific wiring setup with a common wire and traveler wires. Refer to the installation guide.
- Will the dimmer work with my smart home system?
Most dimmers are compatible with common systems like Amazon Alexa or Google Assistant. Check product specs for confirmation.
- Can I install the switch myself?
If you’re handy and follow safety guidelines, yes. But hire an electrician if you’re unsure.
- What if my switch doesn’t fit in the wall box?
Ensure wires are neatly folded. If it still doesn’t fit, the box may be too small and might need replacement.
- Is it normal for the dimmer to make a buzzing sound?
Some noise can happen with high loads. But if it’s loud, check if the switch matches the load rating or consult an electrician.
- What should I do if the lights are flickering?
Make sure you’re using the correct bulbs and that the connections are secure. Sometimes, a different dimmer model may solve the problem.
Answering these questions can help you enjoy the benefits of your 3-way smart dimmer switch with fewer hurdles. Remember to consult your device’s manual for detailed guidance, and when in doubt, always seek professional advice.
Conclusion and Final Thoughts on Smart Lighting Control
Installing and integrating a 3-way smart dimmer switch can revolutionize your home’s lighting. With the right tools, safety measures, and careful wiring, you can do it yourself. Always check your light bulbs and make sure they can dim. If you run into problems, the troubleshooting guide can help you fix common issues.
Once installed, connecting your switch to a home automation system is a breeze. You’ll be able to control your lights with your phone or even your voice. It’s amazing to adjust brightness from anywhere, at any time. Remember, checking compatibility with your system before starting is key. This ensures a smooth setup.
Safety is a top priority. Always turn off power and check with a voltage tester before starting any work. If you’re not sure about doing the job yourself, hiring an electrician is a wise choice.
Smart dimmers like the 3-way smart dimmer switch bring ease and sophistication to your living space. They’re convenient, energy-efficient, and offer enhanced lighting control. Once set up, you’ll wonder how you ever lived without them. Enjoy the comfort and ambiance that smart lighting adds to your home!