Introduction to 4-Way Smart Switches
Traditional light switches provide straightforward functionality to turn lights on and off with a simple flip. But with the rise of smart home technology, 4-way smart switches have emerged as an innovative solution for modern home lighting control. These switches allow you to manage lighting from multiple locations and integrate with smart home systems for enhanced convenience and efficiency.
Unlike standard switches, 4-way smart switches can communicate with each other wirelessly, ensuring that the status of your lighting is up-to-date across all switch locations. This means that whether you use a physical switch, a mobile app, or voice commands, your lights will respond accurately and consistently.
Installing 4-way smart switches requires a basic understanding of electrical wiring and how these switches interact within a circuit. A master switch usually acts as the primary control point, while other switches become ‘slave’ or ‘auxiliary’ switches in the setup. It’s essential to have a clear plan and knowledge of your home’s existing wiring to make a successful transition to a smart lighting system.
Upgrading to 4-way smart switches not only adds convenience but can also provide energy savings and improved security through custom automation and scheduling. Before embarking on this project, it’s crucial to consider the electrical requirements and safety precautions, which I’ll address in the following sections of this blog.

Differentiating Between 3-Way and 4-Way Switch Configurations
Understanding the difference between 3-way and 4-way switches is vital for optimizing your smart switch setup. A 3-way switch configuration includes two switches controlling the same light or set of lights. This setup is common in hallways or stairwells, allowing you to control lighting from both ends. In contrast, a 4-way switch involves three switches or more. With this setup, you can manage the lights from multiple locations, which adds convenience in larger spaces.
When talking about ‘way’ in switches, it refers to the number of switching locations that can control a light fixture. It is not about the number of wires connected to the switches. For a 3-way switch system, you will find three terminals on the switches: two traveler wires and one common wire. A 4-way switch system introduces an additional switch with two traveler terminals that connect the 3-way switches together. This intermediate switch allows for the extra control points.
In a 3-way setup, flipping either switch changes the lighting state. With a 4-way setup, the intermediate switches modify the connection between the traveler wires, altering the circuit’s path. This complexity means you need to understand the wiring thoroughly when upgrading to smart switches.
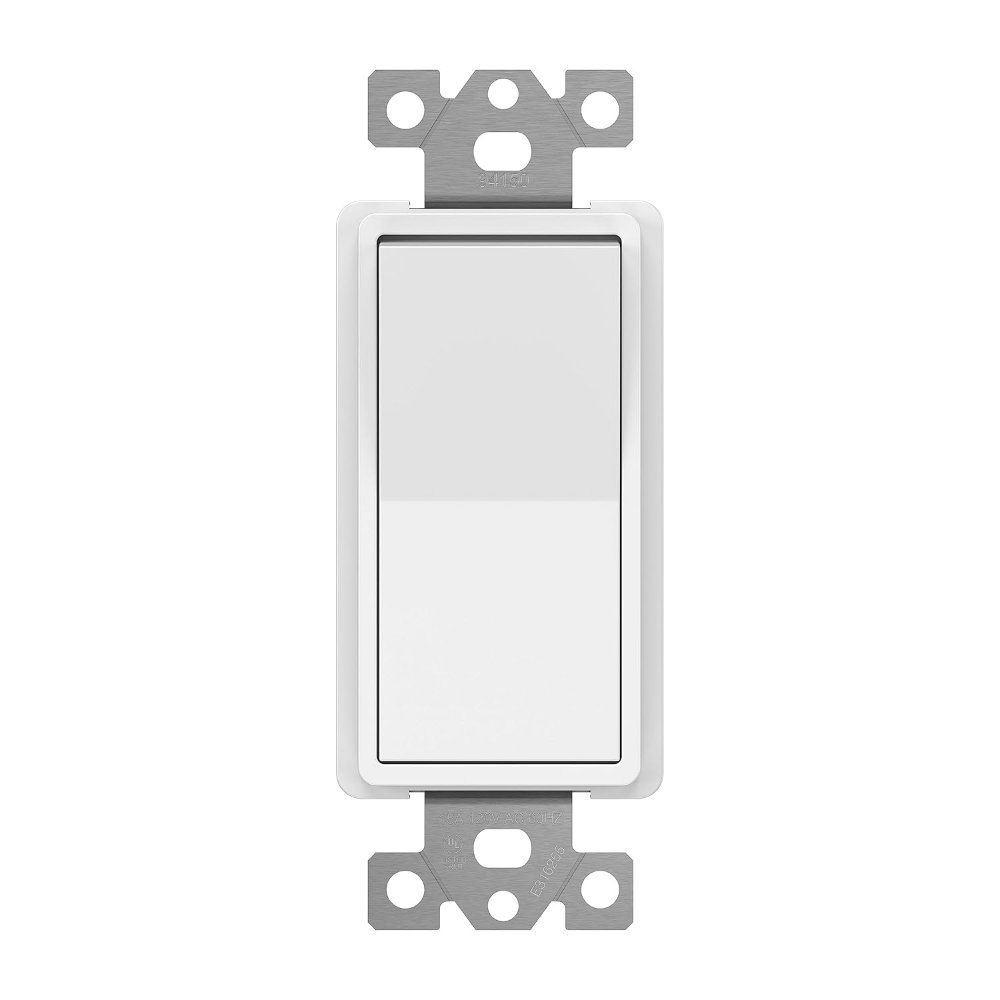
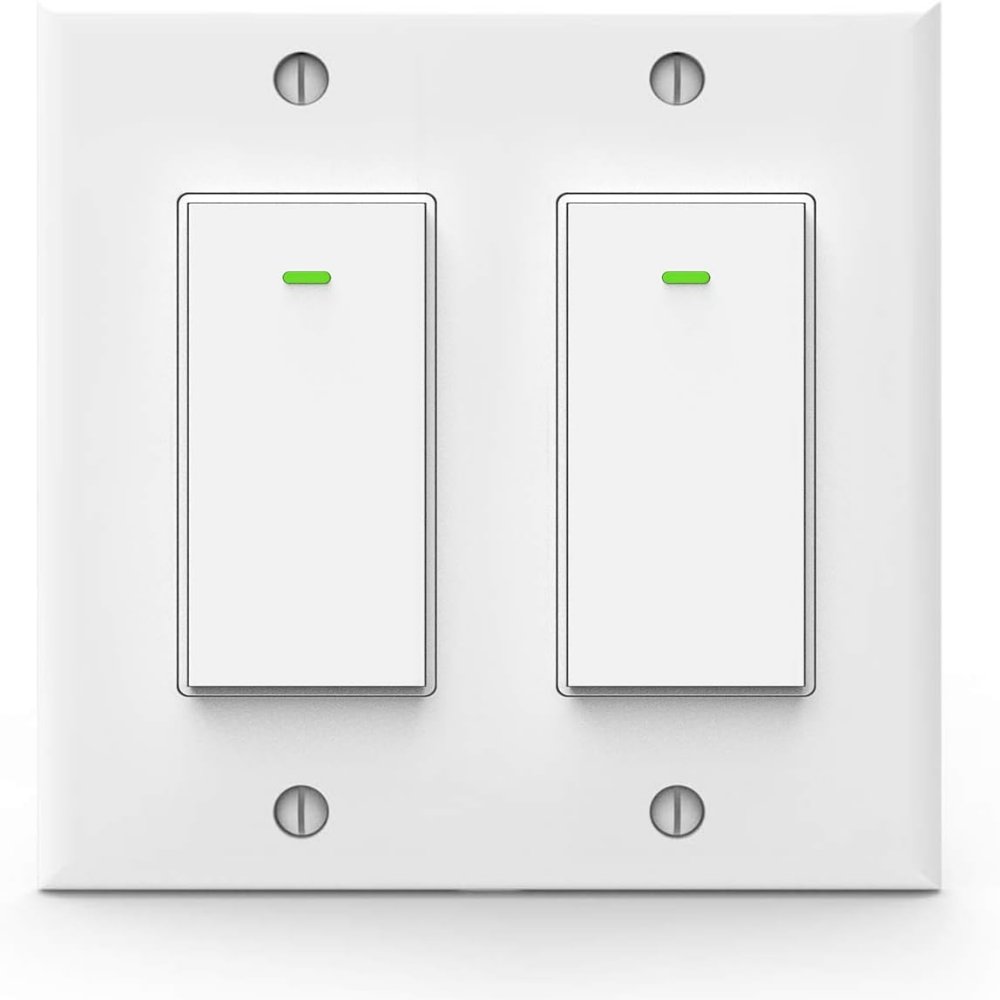
The key factor to remember is that, in a smart home environment, replacing a traditional 3-way or 4-way switch with a smart switch requires some planning. You need to decide which switch will be the ‘master’ and which will act as ‘slaves’. That’s because the master switch will be the main point of wireless communication for controlling the lights. Smart switch installation thus depends heavily on identifying the right switch in the existing circuit to upgrade.
For those aiming to enhance their home lighting systems, the choice between a 3-way and 4-way smart switch setup will depend on the existing structure and the desired level of control. It’s essential to be clear about your current setup to make the smart choice for your home.
The Role of a Master Switch in Smart Switch Setup
When configuring a 4-way smart switch system, selecting a master switch is crucial. It acts as the primary control point and communicates with auxiliary switches. Here’s why a master switch plays a pivotal role:
- Central Command: The master serves as the hub for sending signals to other switches. Think of it as the boss who gives orders.
- Smooth Operation: It ensures that all switches work together seamlessly. This means no confusion when you flip different switches.
- Up-to-date Status: The master switch keeps the status of the lights current across every control point.
- Ease of Installation: By designating a master switch, the installation process is more straightforward. You focus on one central upgrade.
Remember, converting one of your existing 4-way switches to be the master switch requires understanding its wiring position. Often, the master is located where the power source enters the circuit. If this isn’t clear, consulting an electrician is wise to avoid mistakes.
Upgrading to smart switches need not be daunting. With a well-chosen master switch, your smart lighting system will be efficient and responsive to your needs.

Considerations for Wiring and Electrical Requirements
When upgrading to a 4 way smart switch system, understanding the wiring and electrical requirements is crucial. Here are essential points to consider:
- Voltage and Current Specifications: Ensure that the smart switches you select can handle the voltage and current requirements of your home’s existing electrical system.
- Neutral Wire Requirement: Most smart switches need a neutral wire to function correctly. Check if your existing switch boxes have neutral wires available.
- Wire Configuration: Familiarize yourself with your current 4-way switch wiring configuration. This knowledge helps in identifying the correct wires during installation.
- Circuit Load: Evaluate the total load on the circuit controlled by the 4-way switches. This prevents overloading and ensures system safety and efficiency.
- Compatibility: Verify that the smart switches are compatible with other devices in your home automation system.
To avoid potentially hazardous errors, consult a qualified electrician if you are unsure about the wiring and setup. Proper planning and understanding of the electrical infrastructure ensures a safe and successful upgrade to a 4-way smart switch system.
Step-by-Step Guide to Upgrading to a Smart Switch
Upgrading your lighting system to include a 4-way smart switch can significantly enhance your home’s convenience and functionality. Follow these simple steps to ensure a smooth transition:
- Power Off: Always start by turning off the power at the circuit breaker. This ensures your safety while working with electrical wiring.
- Identify Wiring: Carefully remove the faceplates and switches. Identify the wiring, including the line (power), load (light fixture), traveler wires, and a neutral wire if present.
- Choose Master Switch: Decide which switch will be the master. It’s typically the one where the power source enters.
- Install Smart Switch: Mount the master smart switch according to its instruction manual. Make sure to connect the appropriate wires.
- Configure Auxiliary Switches: For the remaining switches, install auxiliary or slave switches if necessary. These will communicate with the master switch.
- Restore Power: Once all switches are installed, turn the power back on and test the operation.
- Program: Set up the smart features using your mobile app. This includes naming the switches, setting schedules, and creating scenes.
Modern smart switches often provide straightforward, guided installation processes through their apps, making the setup more accessible to homeowners. Nevertheless, if you’re unsure of your electrical wiring skills or face complex configurations, don’t risk it. Consulting with a professional electrician is the best approach to ensure everything is set up safely and correctly.

Smart Home Integration and Automation Considerations
Integrating 4-way smart switches into your smart home system enhances control and efficiency. Here’s how you can seamlessly blend smart switches with your home automation:
- Compatibility Check: Ensure that your 4-way smart switches are compatible with your home automation system.
- Central Hub Connection: Connect the master switch to your main home automation hub. This centralizes control and enhances communication between devices.
- Use of Mobile Apps: Utilize mobile apps for managing switch settings. These apps enable remote control and schedule setting for your lights from anywhere.
- Voice Control Setup: Integrate voice-controlled assistants like Alexa or Google Assistant. This allows for hands-free operation of your lighting.
- Automation Scenarios: Create scenes or automations that adjust lighting based on time of day, occupancy, or other triggers. Such features maximize energy efficiency and convenience.
- Remote Updates and Monitoring: Check for and install updates through your home automation system. Monitoring usage can help in optimizing power consumption.
Each integration step enhances convenience and ensures that your 4-way smart switches work in harmony with your overall smart home strategy.
Safety Tips and the Importance of Consulting with an Electrician
Safety should never be compromised when dealing with smart home upgrades, especially when it involves electrical work. Here are some crucial safety tips and reasons why consulting with an electrician is vital for a 4-way smart switch installation.
- Turn Off Power: Before starting any work, ensure the power is off at your home’s main circuit breaker. This prevents electric shock and accidents.
- Use Proper Tools: Employ insulated tools that are rated for electrical work to protect yourself.
- Check Wires: Use a voltage tester to double-check that the power is indeed off before touching any wires.
- Follow Instructions: Read the smart switch’s manual thoroughly for specific installation instructions.
- Protective Gear: Always wear safety goggles and gloves as an extra precaution against sparks or debris.
Besides these safety measures, hiring a professional electrician brings advantages:
- Expertise: Electricians have the knowledge and experience to handle complex electrical systems safely and effectively.
- Troubleshooting: They can quickly diagnose and remedy any issues that arise during installation.
- Code Compliance: Electricians ensure that the installation abides by local building codes and standards, which might affect insurance coverage and home value.
- Safety Testing: After installation, an electrician can confirm that the switches are safe and won’t cause electrical hazards.
Remember, the decisions you make regarding your home’s electrical system have long-term implications for safety, functionality, and compliance. Discussing your smart switch project with a licensed electrician is an investment in peace of mind and the assurance that your smart home operates at its best.
The Debate: Replacing One Vs. All Switches in a 4-Way Circuit
When upgrading to a 4-way smart switch system, homeowners often ponder whether to replace just one or all of the switches. This debate has various facets including cost, convenience, and technical considerations.
Replacing a single switch with a smart one and leaving the other traditional switches in place can work. This approach often requires only one smart switch to be the master. All other switches would act as slaves to the commands of the master switch. The main advantage is cost savings, and installation might seem simpler. However, this might lead to some limitations. One notable limitation is the consistency in functionality. Traditional switches may not update the status on your smart home system when used.
On the flip side, replacing all switches in the circuit with smart ones has its benefits. Full replacement ensures a uniform user experience and consistent feedback across all switch locations. It enables homeowners to receive real-time updates on switch status, regardless of which switch was used. Additionally, this might prevent potential issues related to mixed technology compatibility. The downside is that this approach can be more costly and complex to install.
It’s clear that the decision to go with one master smart switch or a full upgrade depends on the specific needs and preferences of the homeowner. In either case, it’s crucial to consult a professional electrician. The expert’s insight can help determine the best solution for your home’s existing wiring and your smart home goals.
Costs aside, safety and functionality are key in making this decision. The electrical setup of your home will guide you on the right path, whether that’s a single or full switch upgrade. A professional can help you understand your system and prevent any risks associated with electrical work. Make sure each decision aligns with your need for convenience, budget, and the level of smart home integration you desire.