
Introduction
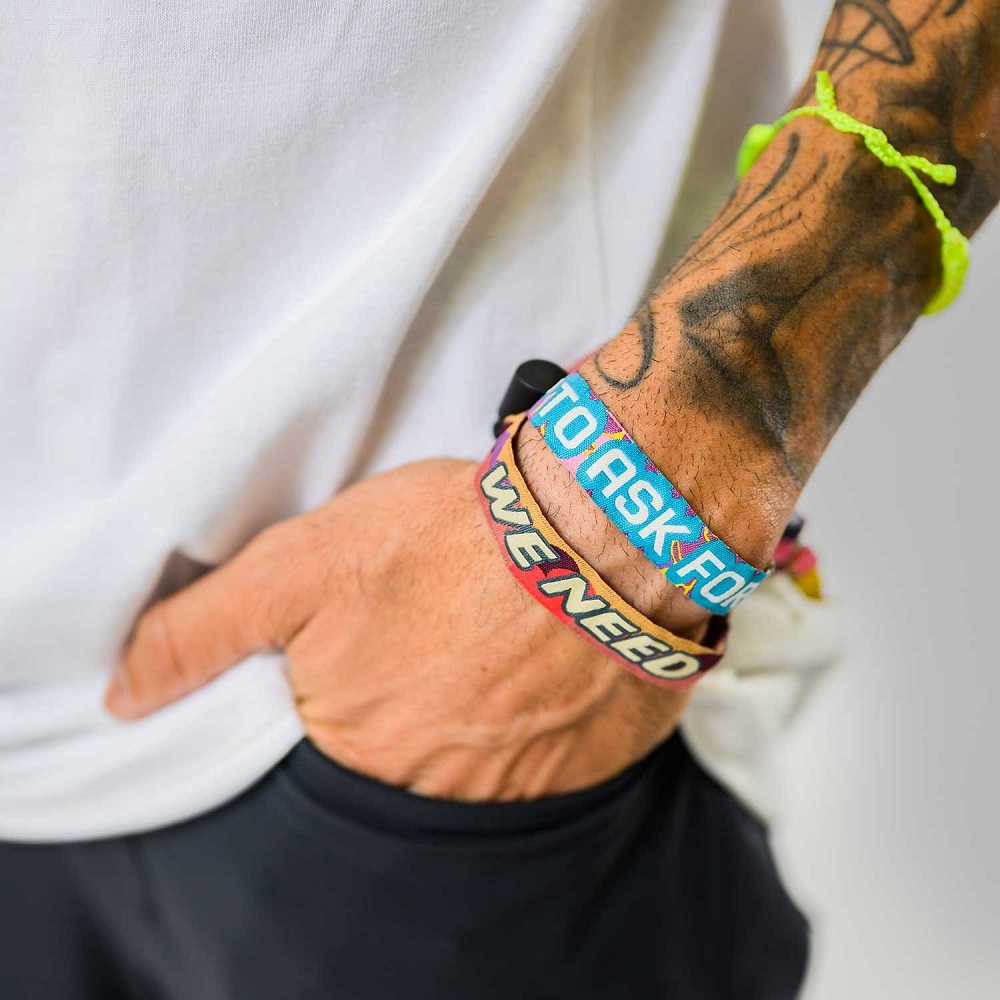
Festival wristbands serve as fashionable memorabilia from some of the most memorable experiences we have. They remind us of the music, the friends, and the electrifying atmosphere. However, once the festival ends, removing those tight, secure wristbands can seem like an impossible task without damaging them or hurting yourself. This article will explore various methods, each explained in simple terms to ensure you can remove your festival wristbands easily and safely.
Why Take Off Festival Wristbands?
Hygiene and Health
Festival wristbands often end up being more than just a short-term accessory. Some people choose to leave them on for weeks or even months as a memento of their experience. However, wearing a wristband for an extended period comes with its downsides. Wristbands can accumulate dirt, sweat, and bacteria. These factors can lead to skin irritations and infections. Additionally, the constant moisture from sweat can make the wristband an ideal breeding ground for germs. Therefore, it is essential for your health to remove that wristband once the festival fervor dies down.
Avoiding Damage to the Wristband
Many of us want to keep our festival wristbands as souvenirs. Cutting them off would ruin their sentimental value. Therefore, people look for ways to remove them without causing damage. Proper techniques can allow you to wear and remove the wristband multiple times while keeping it in pristine condition. Luckily, numerous methods can help you achieve this.
The String Method
One common and effective way to remove a festival wristband without damaging it is by using the string method. This method takes a simple and scientific approach to loosen the grip of your wristband.
Materials You Need
• A piece of strong string or dental floss
• A pair of scissors
Steps to Follow
- Insert the String: Slide the string or floss under the wristband until it comes out on the opposite side. Ensure that the string is long enough to wrap around your wrist multiple times.
- Wrap the String: Start wrapping the string around your wrist in a circular motion. The goal is to coil it tightly enough to push the wristband upwards.
- Position the String: Hold the loose end of the string firmly while maintaining tension on the coiled part. This set-up should push the wristband slightly up your arm.
- Pull the Wristband: Gently tug the string upward while pulling the wristband in the opposite direction. This way, the coiled string creates enough space for the wristband to be pulled off.
- Cut the String: After successfully removing the wristband, you can simply cut the string and dispose of it responsibly.
The string method guarantees that your wristband remains intact and can serve as a pleasant memory for years to come.
The Plastic Bag Method
The plastic bag method is another excellent way to remove a wristband without destroying it. This technique is straightforward and requires common household items.
Materials You Need
• A small, thin plastic bag
• A pair of scissors
Steps to Follow
- Insert Your Hand: Place your hand inside the plastic bag. Ensure that the bag fits snugly but isn’t too tight. The idea is to create a smooth, slippery barrier between your skin and the wristband.
- Push the Wristband: Start sliding the wristband upwards over the plastic bag. The slippery nature of the plastic should make it easier to move the band along your arm.
- Remove the Bag: Once the wristband has passed the widest part of your hand, you can carefully remove the plastic bag completely.
- Free the Wristband: Now, the wristband should be loose enough to slide off your hand easily.
This method not only helps preserve the condition of your wristband but also ensures you don’t injure yourself during the removal process.
The Soapy Water Method
Sometimes, the simplest methods are the best. The soapy water method takes advantage of lubrication to help you slide that wristband right off your arm.
Materials You Need
• Mild liquid soap or hand wash
• A bowl or sink filled with water
Steps to Follow
- Prepare the Mixture: Add a few squirts of liquid soap to the bowl or sink filled with water and mix thoroughly.
- Wet Your Wrist: Submerge your wrist in the soapy water solution. Make sure to get the wristband fully saturated as well.
- Lubricate the Wristband: Periodically rotate and slide the wristband around your wrist while it’s submerged. This helps ensure that the soapy water reaches all tight spots.
- Begin Sliding: Gently start to slide the wristband upwards, using a continuous motion. The soap should provide enough lubrication to help it glide over your skin without much resistance.
- Remove Completely: Once the wristband reaches the wider part of your hand, you can gradually ease it off your wrist.
This method is particularly useful for those who prefer a more straightforward and low-tech approach to removing festival wristbands.
The Corkscrew Method
For those of you interested in unique solutions, the corkscrew method provides a truly innovative way to manipulate and remove a wristband.
Materials You Need
• A corkscrew (preferably a smooth one)
• Patience and a steady hand
Steps to Follow
- Prepare the Corkscrew: Ensure you have a clean corkscrew free of any food or beverage residue. Hygiene is crucial, especially with methods that involve metal objects.
- Insert the Corkscrew: Carefully thread the corkscrew between your wristband and your wrist. Make sure to gently slide it through to avoid scratching the skin.
- Rotate the Corkscrew: Start rotating the corkscrew to create a loop. This loop will serve as a lever to gently lift the wristband off your skin.
- Pull and Rotate: Firmly but gently begin to rotate the corkscrew while pulling the wristband upwards. The goal is to slowly work the band off without causing any damage.
- Remove the Corkscrew: Once the wristband has cleared the widest part of your wrist, you can remove the corkscrew and ease the wristband off completely.
This method can be very secure, especially if you’re careful and patient.
The Buddy System
Sometimes, two hands are better than one. The Buddy System involves having another person help you remove the wristband. This method works particularly well for those who find it difficult to maneuver techniques single-handedly.
Steps to Follow
- Choose a Method: Decide which wristband removal technique you’d like to use. Make sure both you and your friend are comfortable with the choice.
- Communication: Clearly communicate the steps involved to your friend. Good instruction is key to avoiding mishaps.
- Assistance: Have your friend assist in areas where you need an extra hand, such as holding the string or plastic bag in place while you maneuver the wristband.
- Monitor Progress: Continuously check your wrist during the process. Your friend should periodically ask you if you’re feeling any discomfort.
- Remove and Celebrate: Successfully remove the wristband and celebrate the memory of your festival experience together.
Using Specialized Tools
The festival scene has grown enormously, and so has the need for easy wristband removal. Specialized tools specifically designed to remove wristbands can now be found in the market.
Materials You Need
• A wristband removal tool (available online or at stores)
• Clear instructions from the manufacturer
Steps to Follow
- Acquire the Tool: Purchase a wristband removal tool from a reliable seller. Ensure you choose a tool that is highly rated and user-friendly.
- Read Instructions: Thoroughly read the instructions provided by the manufacturer. Each tool may have its specific way of functioning.
- Position the Tool: Insert the tool according to the guidelines. Most tools are designed to slip under the wristband and create enough leverage to slide it off.
- Follow Steps: Carefully follow the steps mentioned in the user manual. These tools are usually designed to exert minimal pressure on your wrist while effectively removing the wristband.
- Finalize: Once removed, you can store the wristband as a keepsake. The tool, if well-maintained, can be used for future wristbands.
The Paperclip Method
Finally, we have the paperclip method, an easy and practical way to remove wristbands without causing damage. This method requires minimal materials and effort.
Materials You Need
• A metal paperclip
• A pair of pliers (optional)
Steps to Follow
- Unfold the Paperclip: Straighten out the paperclip, making it as flat and smooth as possible. If necessary, use a pair of pliers for this.
- Insert the Paperclip: Thread the paperclip between the wristband and your wrist. Ensure that it slides through smoothly, avoiding any skin contact.
- Lift the Wristband: Use the paperclip to gently lift the wristband while you alternate between pushing and pulling actions.
- Slide Out: Continue lifting and pushing the wristband until it becomes loose enough to slip off your hand.
The paperclip method is particularly effective for those looking to remove wristbands quickly and without much hassle.
Conclusion
Removing a festival wristband can often feel like a challenging task, given their tight fit and secure fastening methods. Whether you’re aiming to preserve your festival memento or simply need to rid your wrist of the often-irritating accessory for health reasons, there are numerous steps you can take to achieve this. Methods like the string method, soapy water method, and the use of specialized tools all offer viable solutions for safely removing your wristband. From easy and quick techniques to more innovative ones, you will surely find a method that suits your needs and preferences. In the end, taking a few moments to carefully remove your wristband ensures that you can keep your treasured memories intact while maintaining good hygiene. Share your newfound skills with friends, and make wristband removal a simple and painless process.